Airtable#
Airtable is a spreadsheet-database hybrid, with the features of a database but applied to a spreadsheet. The fields in an Airtable table are similar to cells in a spreadsheet, but have types such as 'checkbox', 'phone number', and 'drop-down list', and can reference file attachments like images.
Credentials
You can find authentication information for this node here.
Basic Operations#
- Append the data to a table
- Delete data from a table
- List data from a table
- Read data from a table
- Update data in a table
Example Usage#
This workflow allows you to insert and update data from a table in Airtable. You can also find the workflow on n8n.io. This example usage workflow would use the following nodes. - Start - Set - Airtable
The final workflow should look like the following image.

1. Start node#
The start node exists by default when you create a new workflow.
2. Set node#
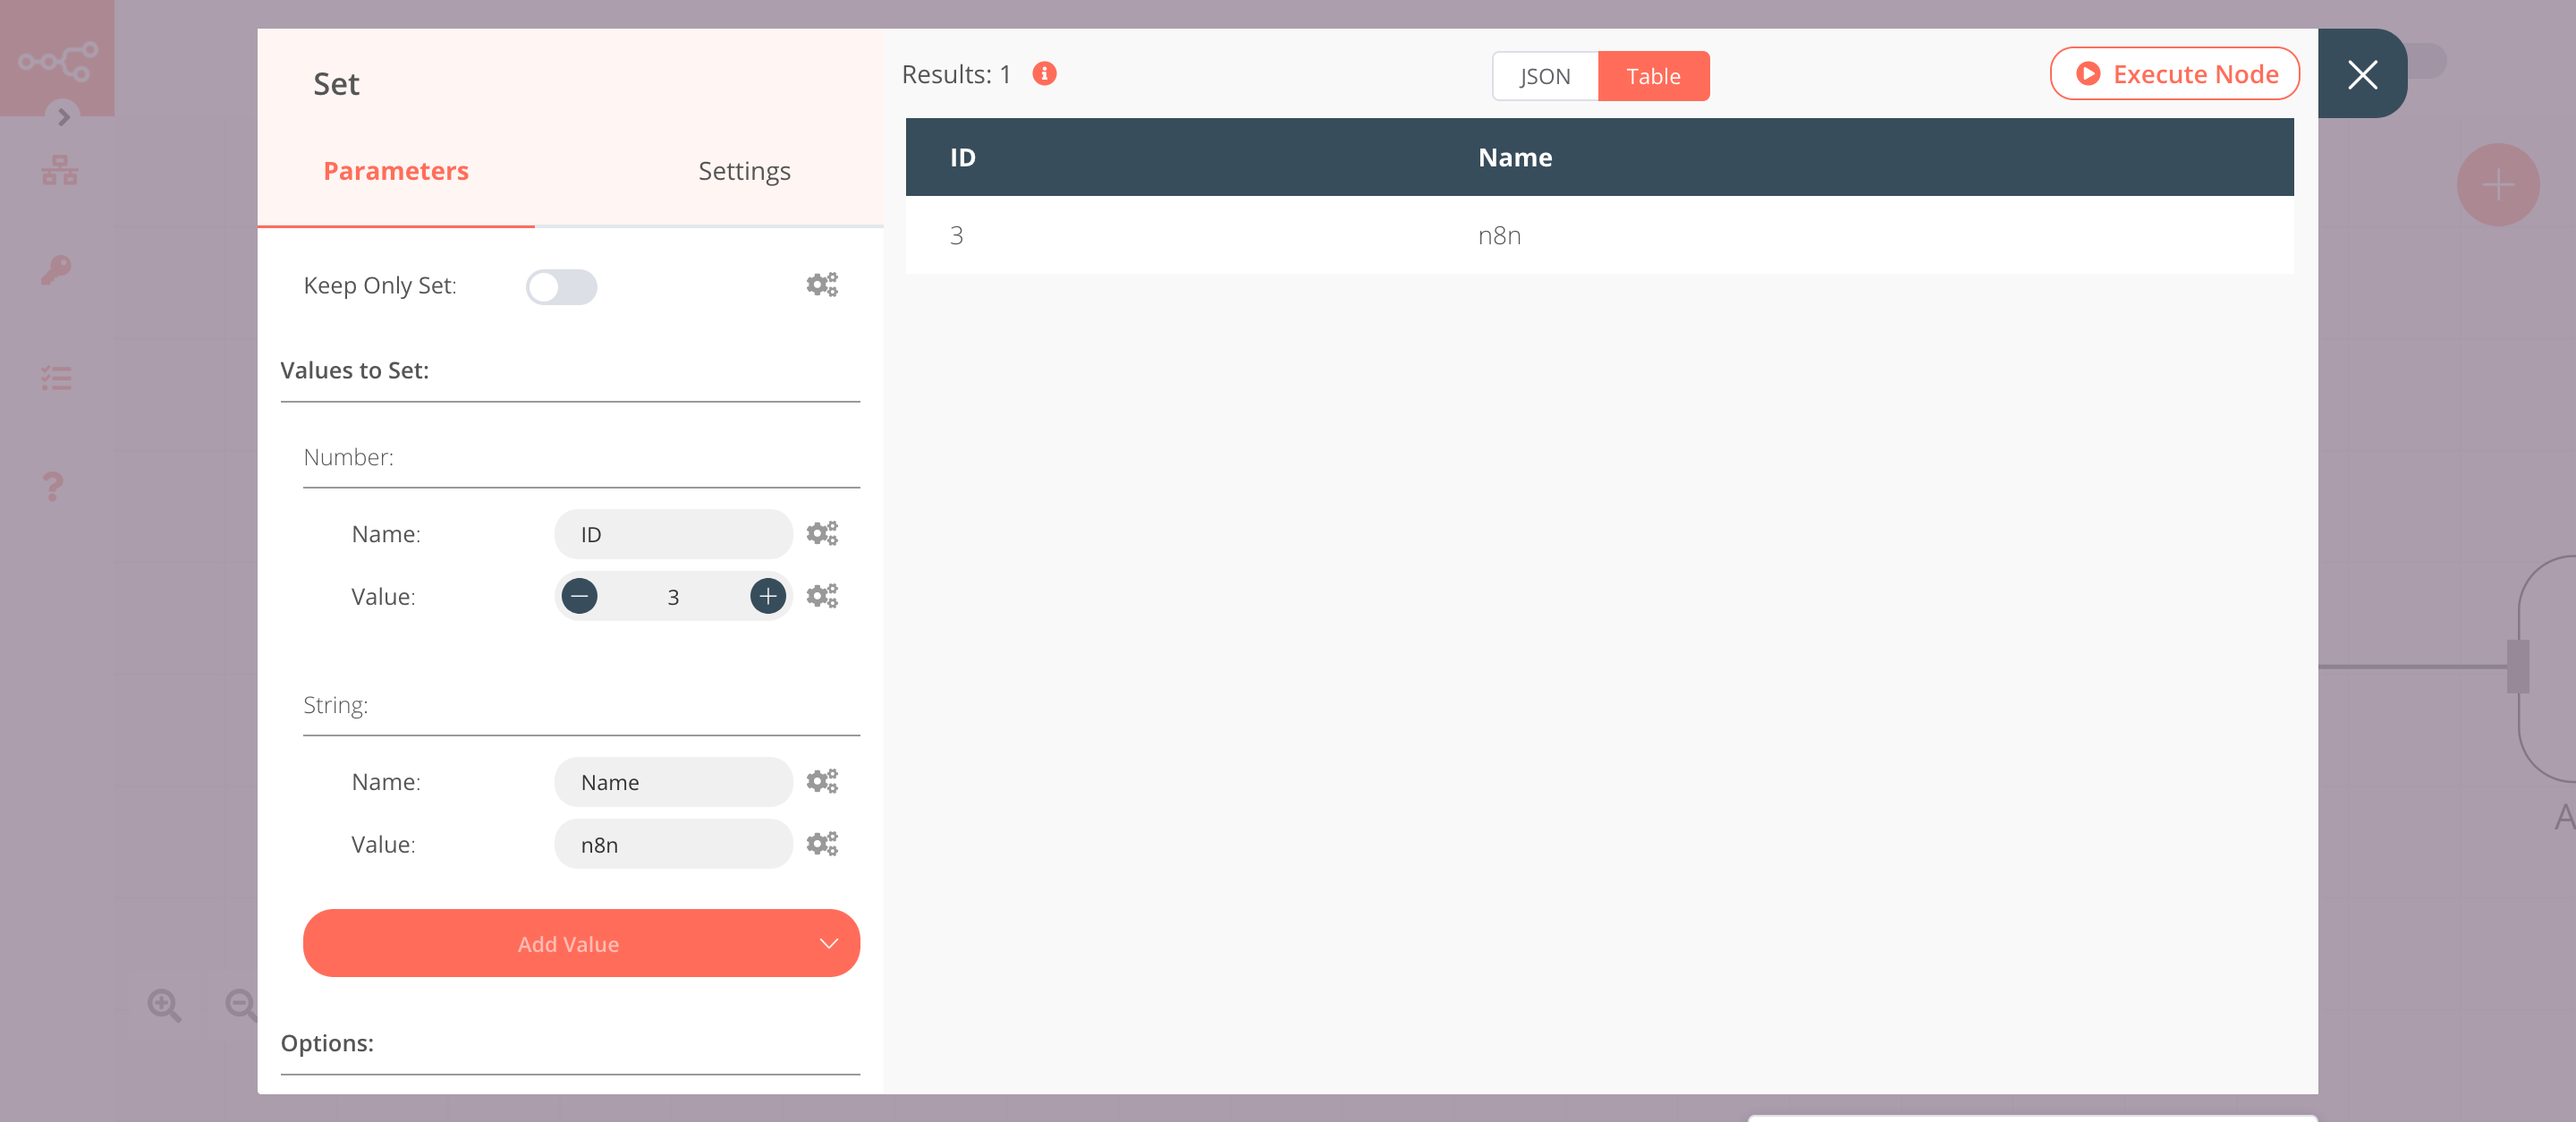
We will use the Set node to set the values for the name and id fields for a new record.
- Click on the Add Value button and select 'Number' from the dropdown list.
- Enter
IDin the Name field. - Enter an id in the Value field.
- Click on the Add Value button and select 'String' from the dropdown list.
- Enter
Namein the Name field. - Enter a name in the Value field.
- Click on Execute Node to run the node.
In the screenshot below, you will notice that the node sets the value for ID and Name.
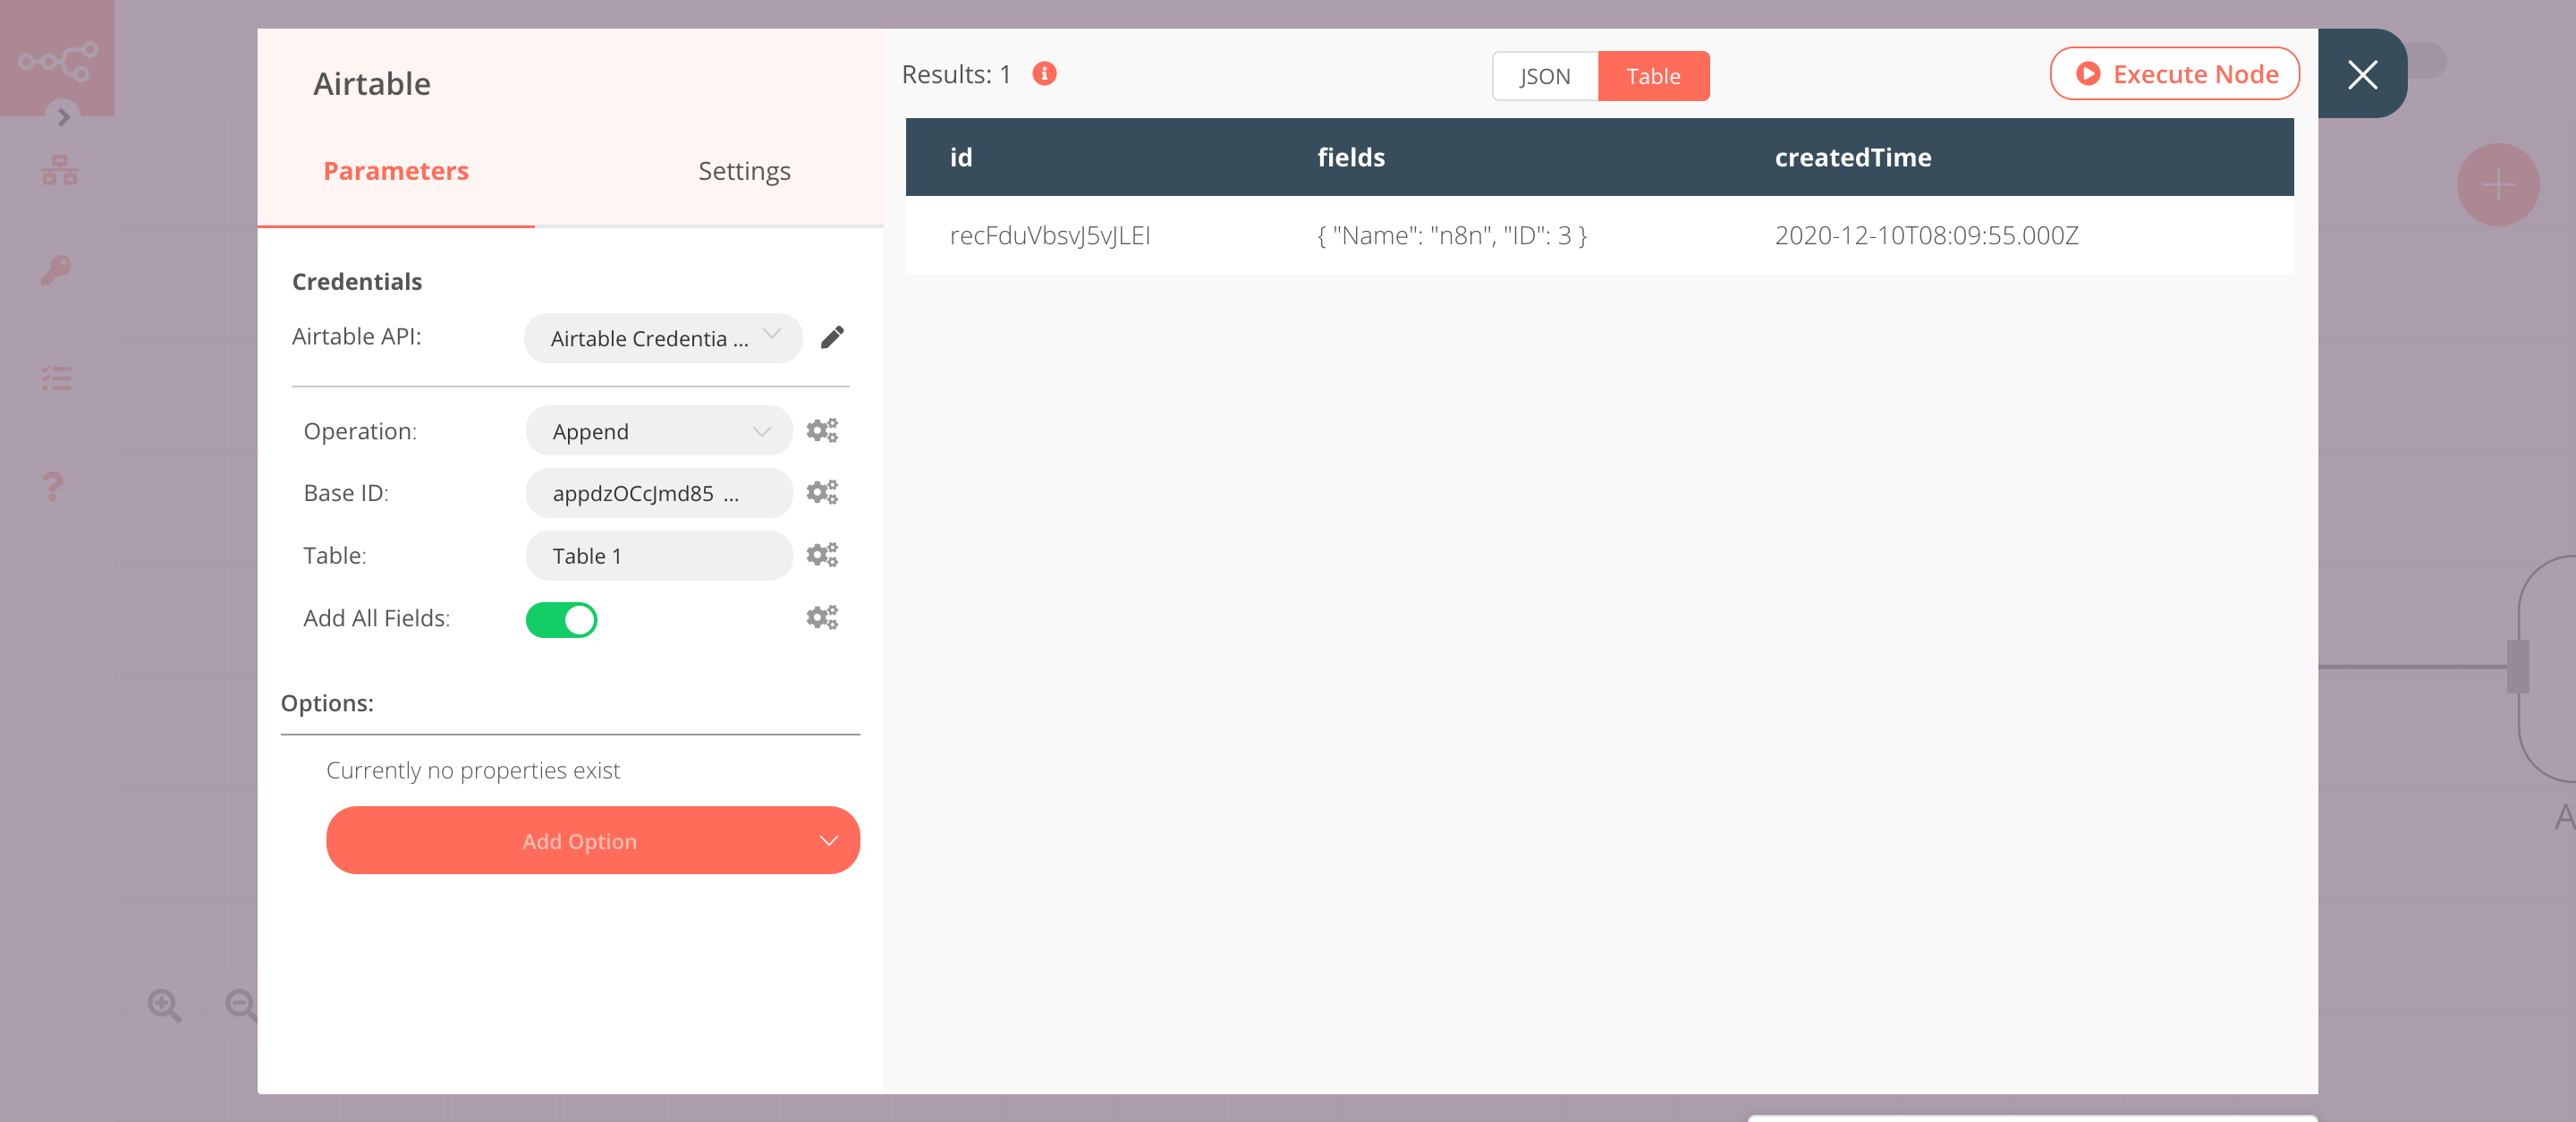
3. Airtable node (Append)#
This node will append the data that we set in the previous node to a table. Create a table like this in your Airtable base.
- First of all, you'll have to enter credentials for the Airtable node. You can find out how to do that here.
- Select 'Append' from the Operation dropdown list.
- Enter the Base ID in the Base ID field. For obtaining the Base ID, head over to their API page and select the correct base. You'll find the Base ID there.
- Enter the name of your table in the Table field.
- Click on Execute Node to run the node.
In the screenshot below, you will notice that the node appends the data that we had set in the previous node.
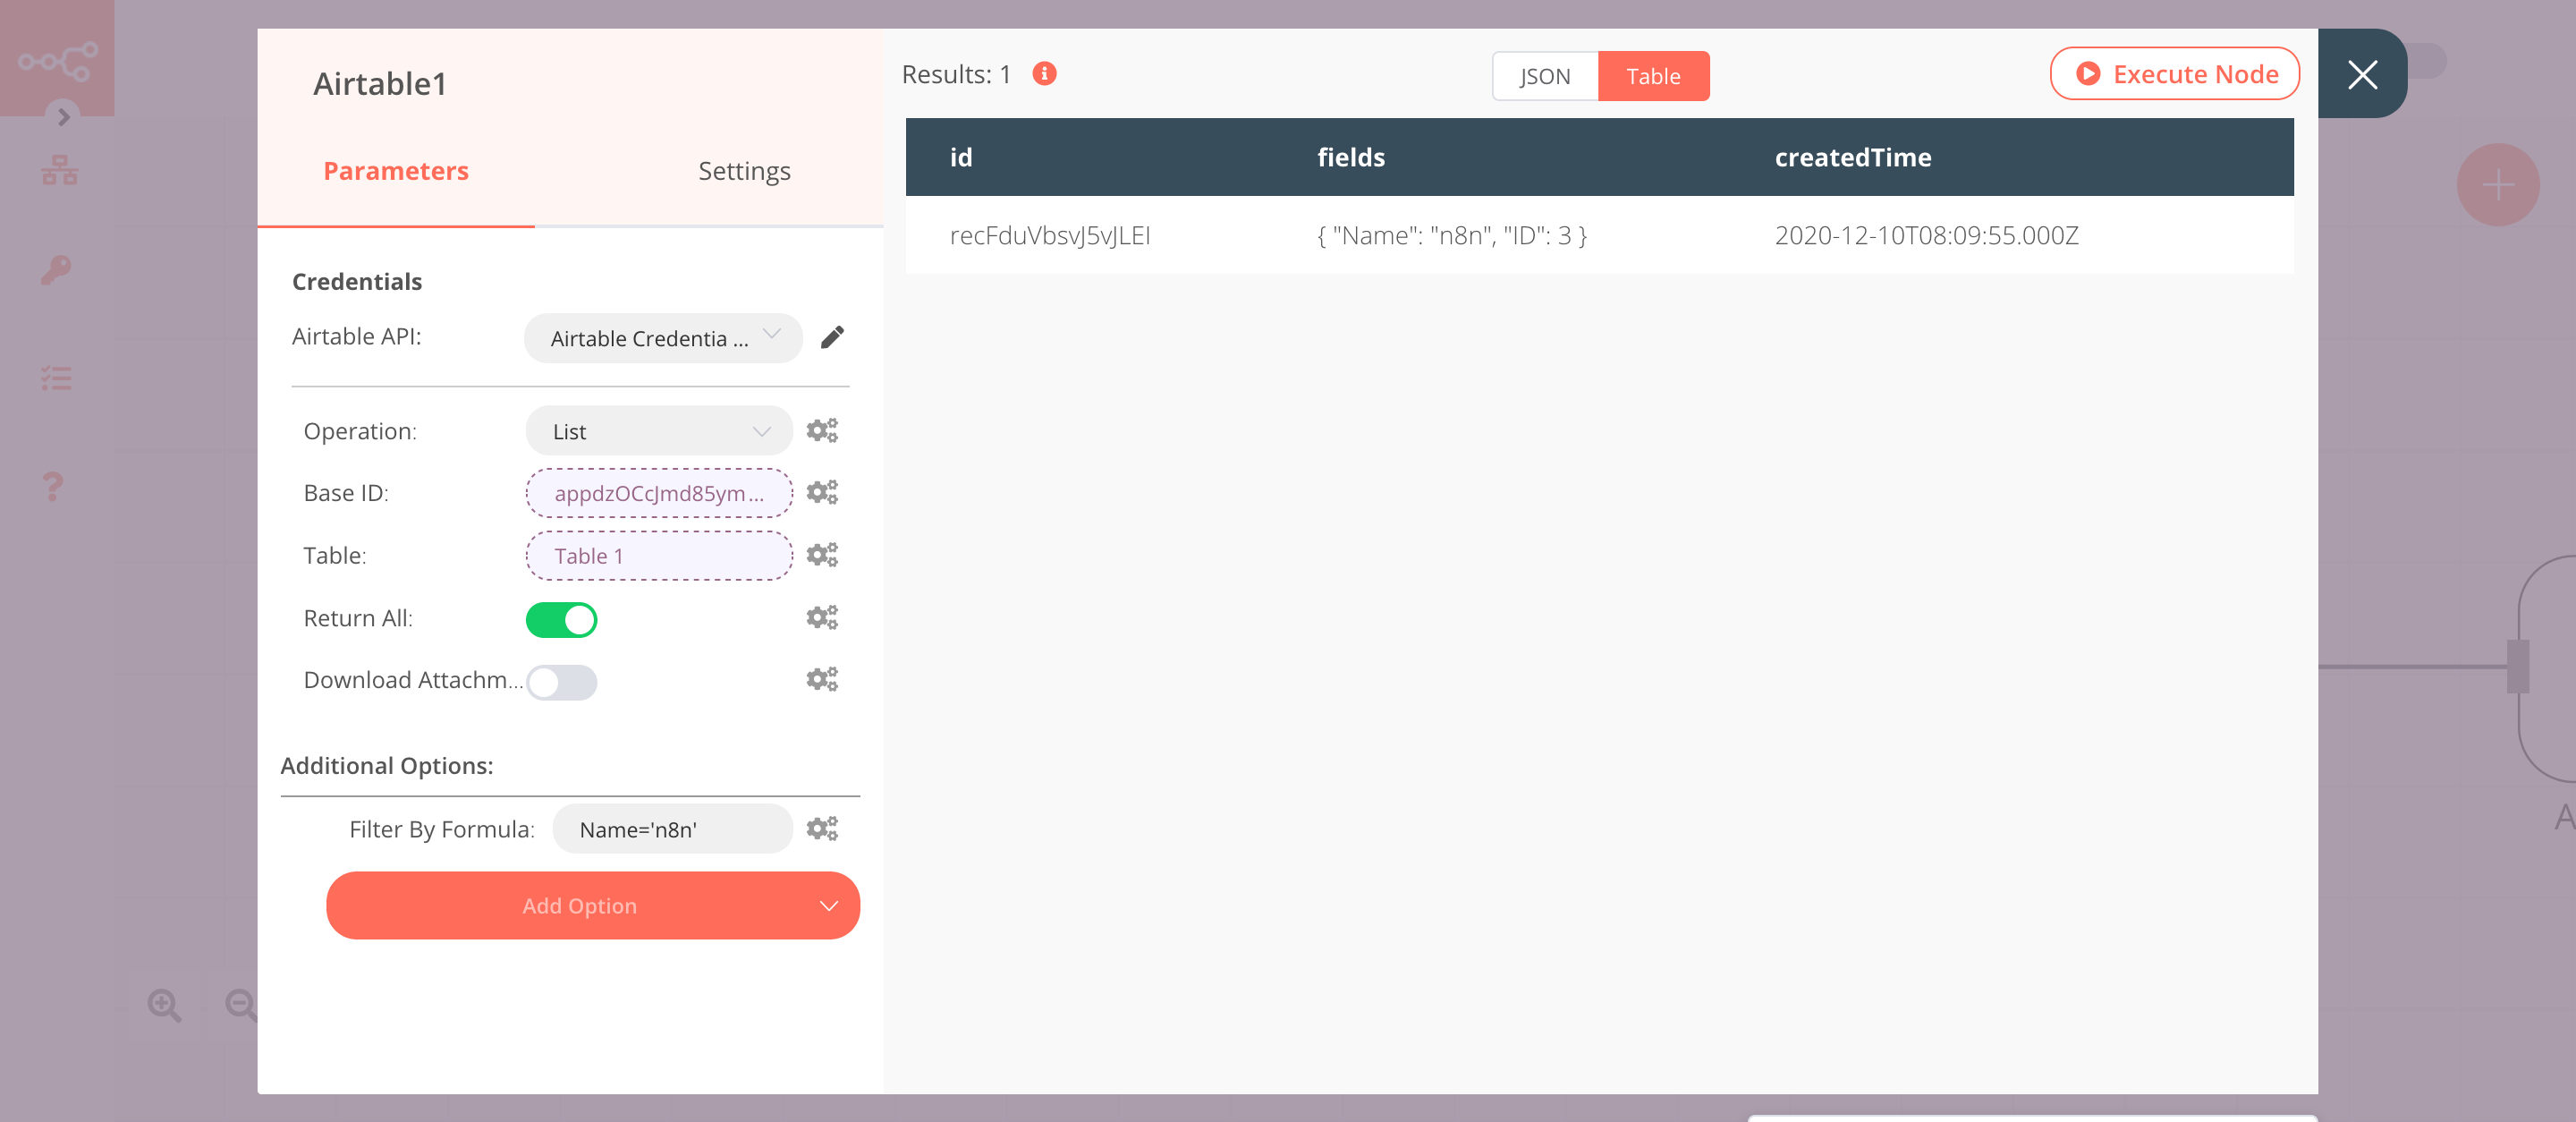
4. Airtable1 node (List)#
This node will list all the records with the name n8n. If you want to list records with a different name, use that name instead.
- Select the credentials that you entered in the previous node.
- Select the 'List' option from the Operation dropdown list.
- Click on the gears icon next to the Base ID field and click on Add Expression.
- Select the following in the Variable Selector section: Nodes > Airtable > Parameters > application. You can also add the following expression:
{{$node["Airtable"].parameter["application"]}}. - Click on the gears icon next to the Table field and click on Add Expression.
- Select the following in the Variable Selector section: Nodes > Airtable > Parameters > table. You can also add the following expression:
{{$node["Airtable"].parameter["table"]}}. - Click on Add Option and select 'Filter By Formula' from the dropdown list.
- Enter
Name='n8n'in the Filter By Formula field. - Click on Execute Node to run the node.
In the screenshot below, you will notice that the node only returns the record with the name n8n.
5. Set1 node#
We will use the Set node to ensure that only the data that we set in this node gets passed on to the next nodes in the workflow. We will set the value of Name in this node.
- Click on the Add Value button and select 'String' from the dropdown list.
- Enter
Namein the Name field. - Enter
nodemationin the Value field. - Toggle Keep Only Set to
true. We set this option to true to ensure that only the data that we have set in this node get passed on to the next nodes in the workflow. - Click on Execute Node to run the node.
In the screenshot below, you will notice that the node sets the value of Name. This value is passed to the next node in the workflow.
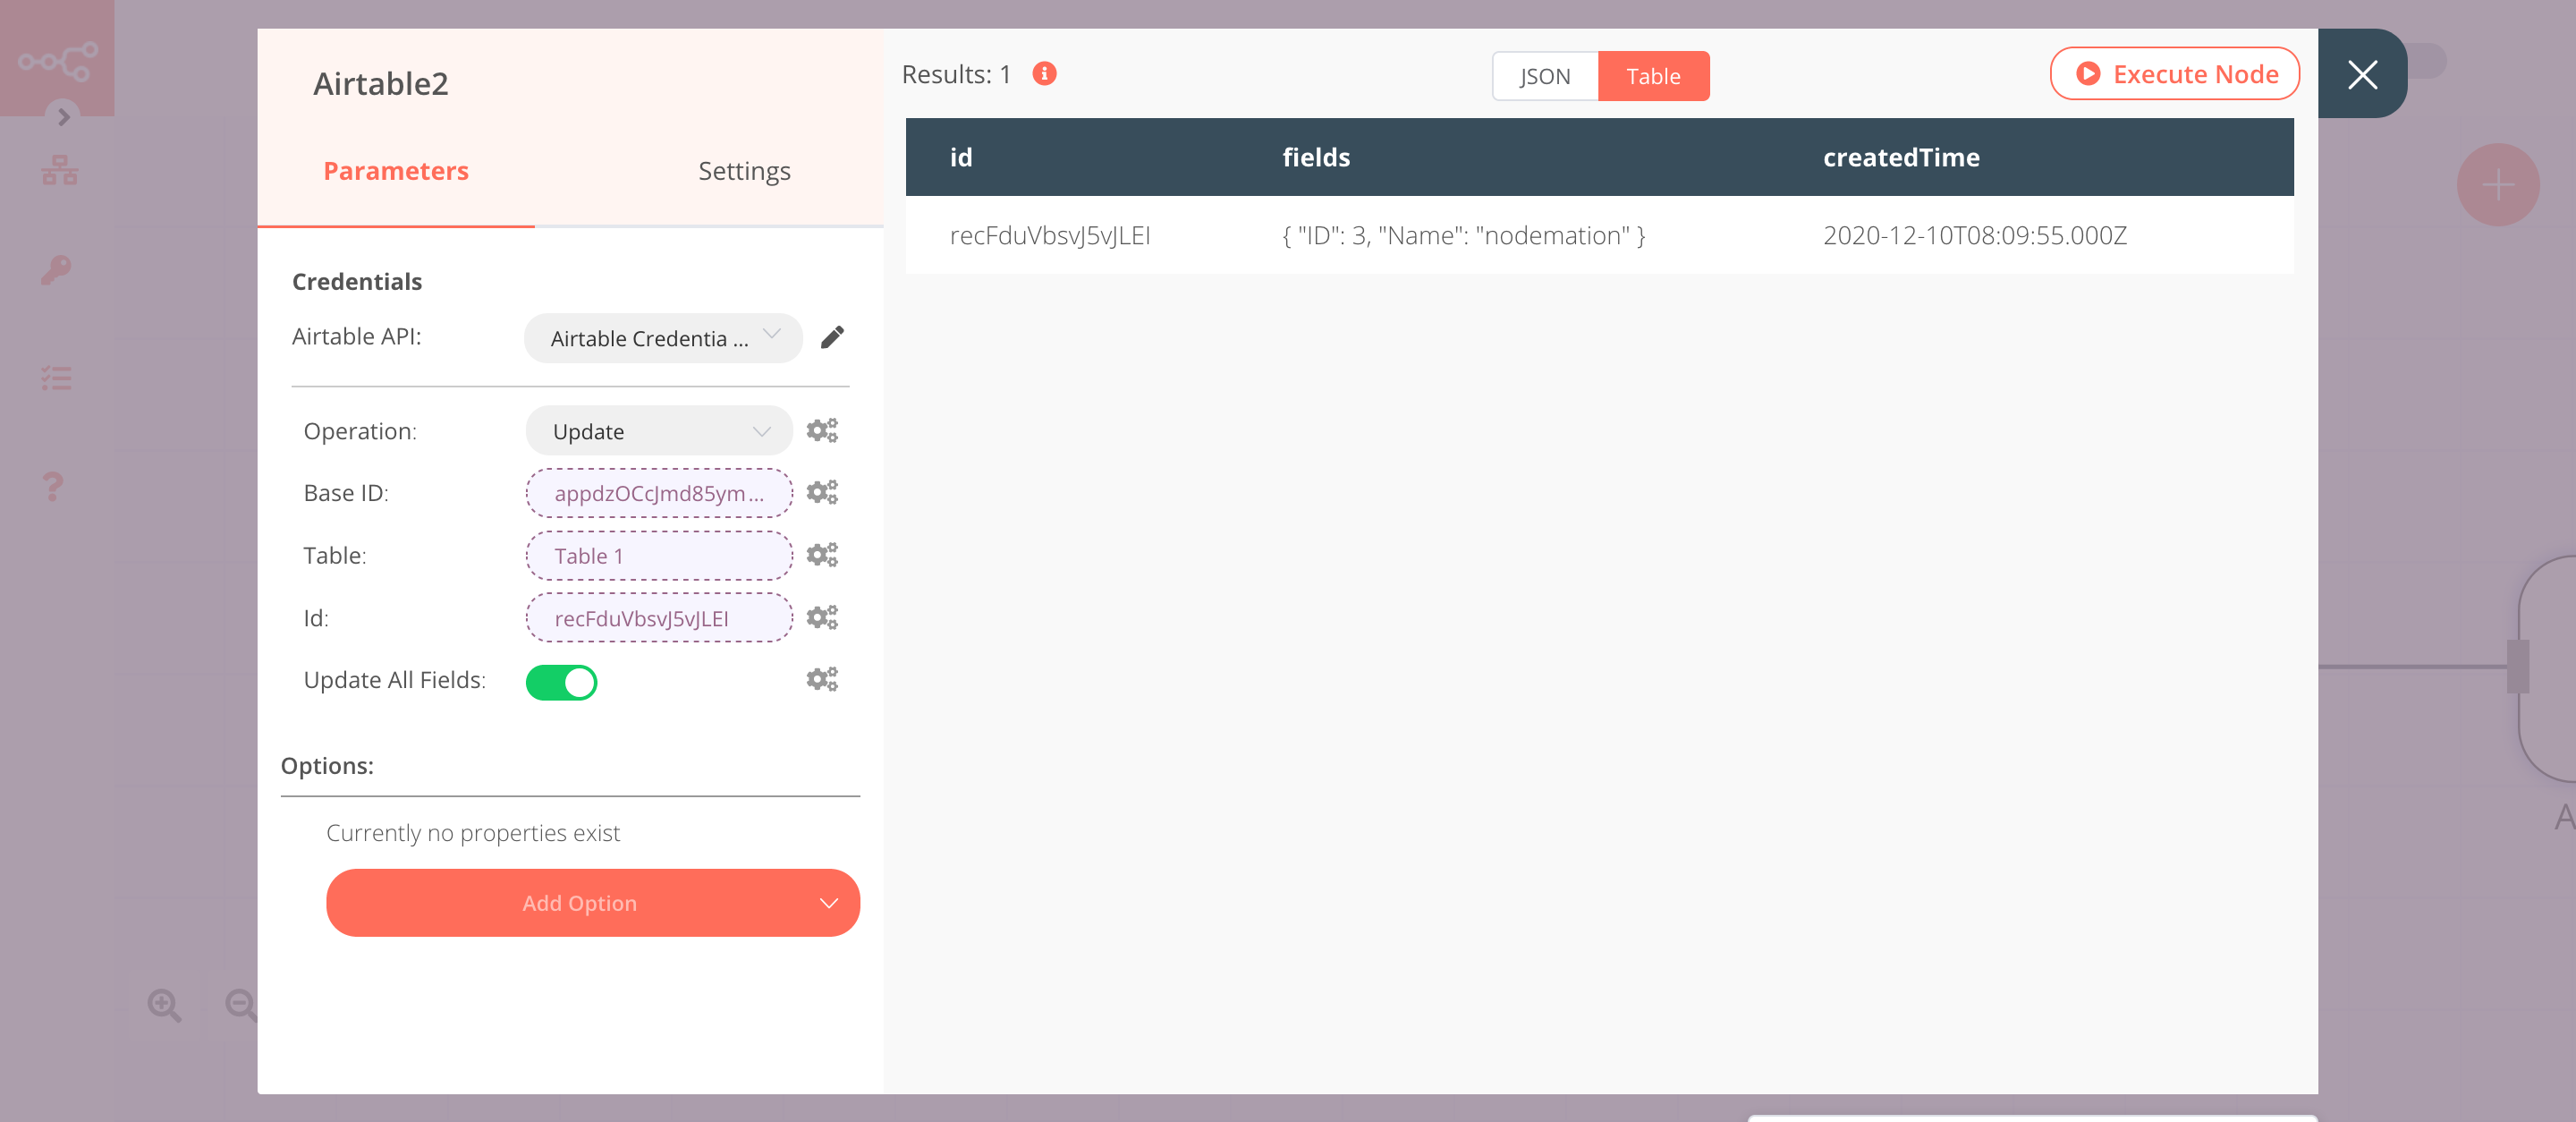
6. Airtable2 node (Update)#
This node will update the Name field of the record that we received from the previous Airtable node.
- Select the credentials that you entered in the previous Airtable node.
- Select 'Update' from the Operation dropdown list.
- Click on the gears icon next to the Base ID field and click on Add Expression.
- Select the following in the Variable Selector section: Nodes > Airtable > Parameters > application. You can also add the following expression:
{{$node["Airtable"].parameter["application"]}}. - Click on the gears icon next to the Table field and click on Add Expression.
- Select the following in the Variable Selector section: Nodes > Airtable > Parameters > table. You can also add the following expression:
{{$node["Airtable"].parameter["table"]}}. - Click on the gears icon next to the Id field and click on Add Expression.
- Select the following in the Variable Selector section: Nodes > Airtable1 > Output Data > JSON > id. You can also add the following expression:
{{$node["Airtable1"].json["id"]}}. - Click on Execute Node to run the node.
In the screenshot below, you will notice that the node updates the Name field.
FAQs#
How to get the Record ID?#
To fetch data for a particular record, you need the Record ID. There are two ways to get the Record ID.
Create a Record ID column in Airtable
To create a Record ID column in your table, refer to this article. You can then use this Record ID in your Airtable node.
Use the List operation
To get the Record ID of your record, you can use the List operation of the Airtable node. This operation will return the Record ID along with the fields. You can then use this Record ID in your Airtable node.
How to filter records when using the List operation?#
To filter records from your Airtable base, use the Filter By Formula option. For example, if you want to return all the users that belong to the organization n8n, follow the steps mentioned below:
1. Select 'List' from the Operation dropdown list.
2. Enter the base ID and the table name in the Base ID and Table field, respectively.
3. Click on Add Option and select 'Filter By Formula' from the dropdown list.
4. Enter the following formula in the Filter By Formula field: {Organization}='n8n'.
Similarly, if you want to return all the users that do not belong to the organization n8n, use the following formula: NOT({Organization}='n8n').
Refer to the Airtable documentation to learn more about the formulas.