Wait#
The Wait node is used to create a pause of any desired duration in your workflows. When the workflow is paused the execution data is offloaded to the database, and when the resume condition is met it is reloaded and the execution continues.
The Wait node can be set to resume on the following conditions:
Keep in mind
For the time-based resume operations, note that:
- For wait times less than 65 seconds, execution data is not offloaded to the database to resume later but rather the process continues to run and execution resumes after the specified interval passes.
- The n8n server time is always used regardless of the timezone setting. Workflow timezone settings, and any changes made to them, do not affect the Wait node interval or specified time.
Time interval#
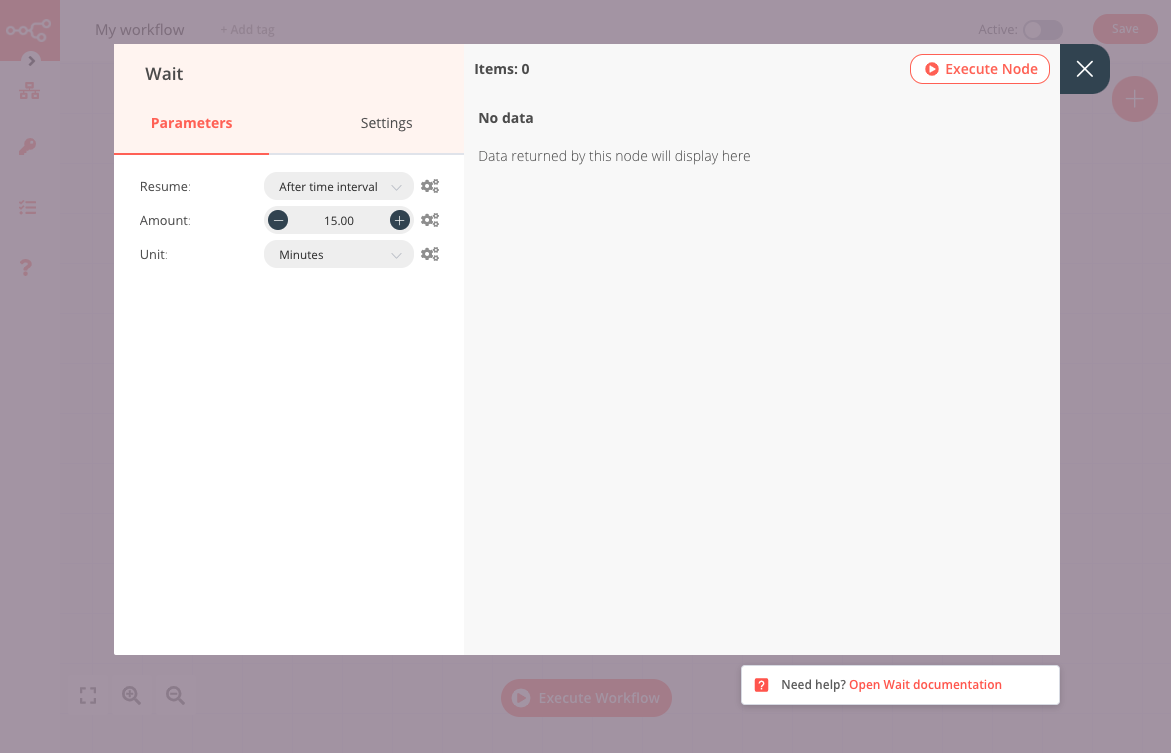
Use the After time interval resume operation to set a desired interval after which the execution will resume.
Set the desired Amount and the corresponding Unit for the Wait operation. Decimals can be used for fractional units, for example 1.5 minutes instead of 90 seconds.
To automatically resume workflow execution after 15 minutes, the Wait node configuration would look like this:
Specified time#
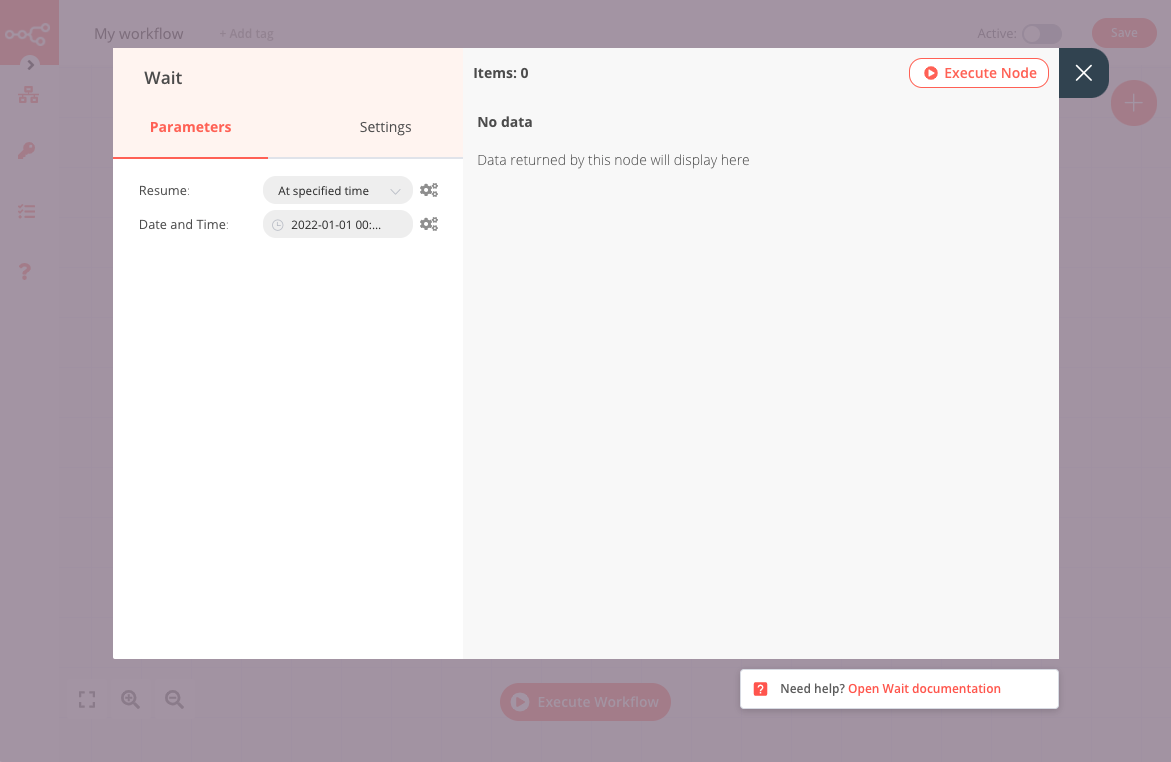
Use the At specified time resume operation to set a particular date and time in the future when the workflow execution should resume.
For example, if you want the workflow execution to continue at midnight of New Year's Day 2022 the Wait node configuration would look like this:
Webhook call#
The resume On webhook call option enables your workflows to resume when an HTTP call is received.
The webhook URL that will resume the execution when called is only generated at runtime. The Wait node provides the $resumeWebhookUrl variable so that you can reference and send (the yet to be generated URL) wherever needed, for example to a third-party service or in an email (see example below).
When the workflow executes, the resume URL is generated and the webhook(s) in your workflow using the $resumeWebhookUrl reference become functional. This generated URL is unique to each execution, meaning that your workflow can contain multiple Wait nodes and as the webhook URL is called it will resume each Wait node sequentially.
Reference#
See the Webhook node documentation to learn more about the Authentication, Method, and Response parameters when configuring the Wait node to resume on a webhook call.
In addition to the parameters shared with the Webhook mode, the Wait node has the following additional configuration options:
- Limit wait time: Set the maximum amount of time to wait before the execution is resumed by default (i.e. even with no webhook call received).
-
Add Option > Webhook Suffix: Provide a suffix that you want to appended to the resume URL. This is useful for creating unique webhook URLs for each Wait node when a workflow contains multiple Wait nodes.
Note: The generated
$resumeWebhookUrlwill not automatically include this suffix, you must manually append it to the webhook URL before exposing it.
Limitations#
There are a few functional limitations to keep in mind when working with the On Webhook Call operations of the Wait node:
- Partial executions of your workflow will change the
$resumeWebhookUrl, so be sure that the node being used to send this URL to your desired third-party runs in the same execution as the Wait node. - When testing your workflow via the Editor UI, you cannot see the rest of the execution following the Wait node. To inspect the execution results ensure you have enabled Save Manual Executions in you workflow settings to be able to review the execution results there.
Example usage#
This workflow allows you to complete a user sign-up flow by adding their details contact details in an Airtable, sending a confirmation email, and updating the Airtable record after they have confirmed their email address.
For our example here, we assume there is an existing workflow/webpage where new users sign-up and this workflow begins when they hit "Submit" there.
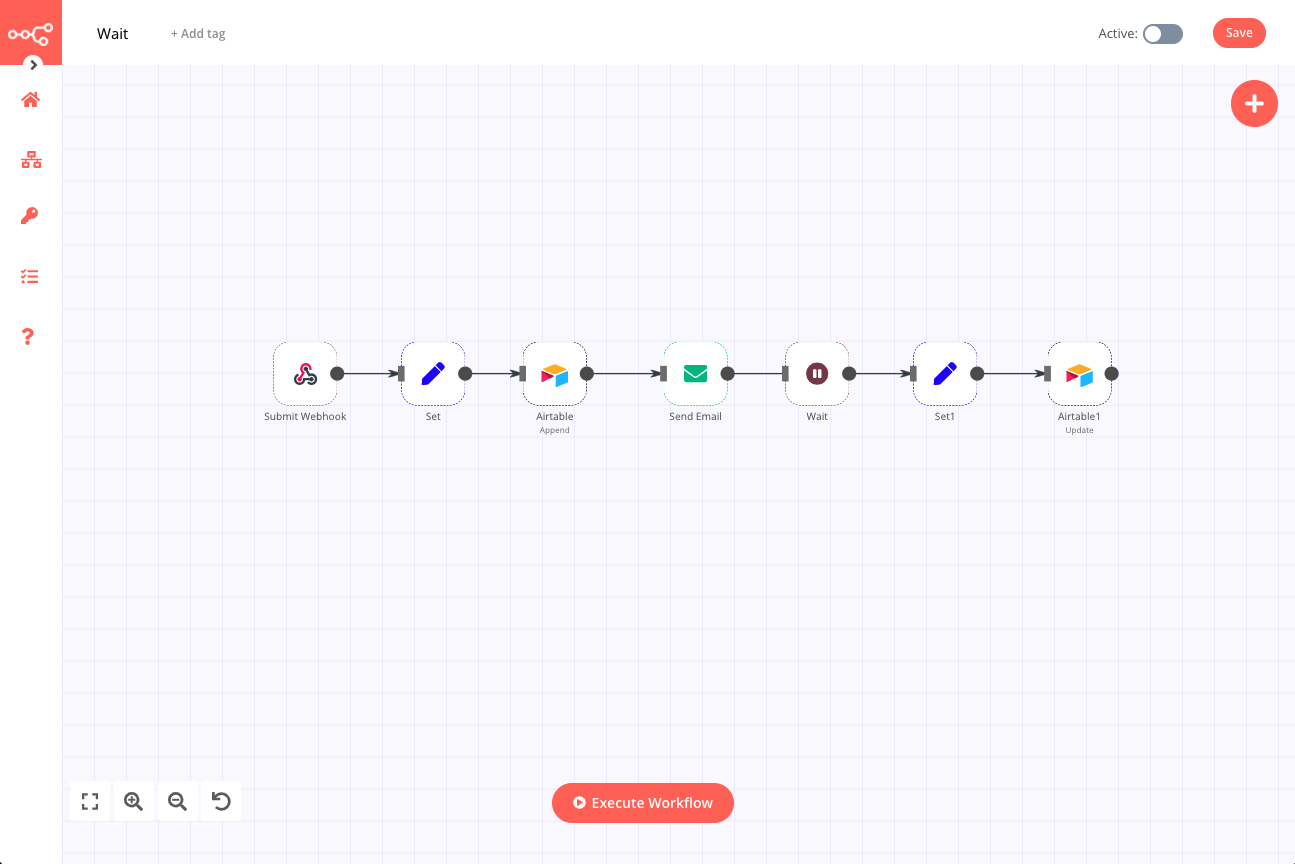
This example workflow uses the following nodes. - Wait - Webhook - Set - Send Email - Airtable
The final workflow should look like the following image.
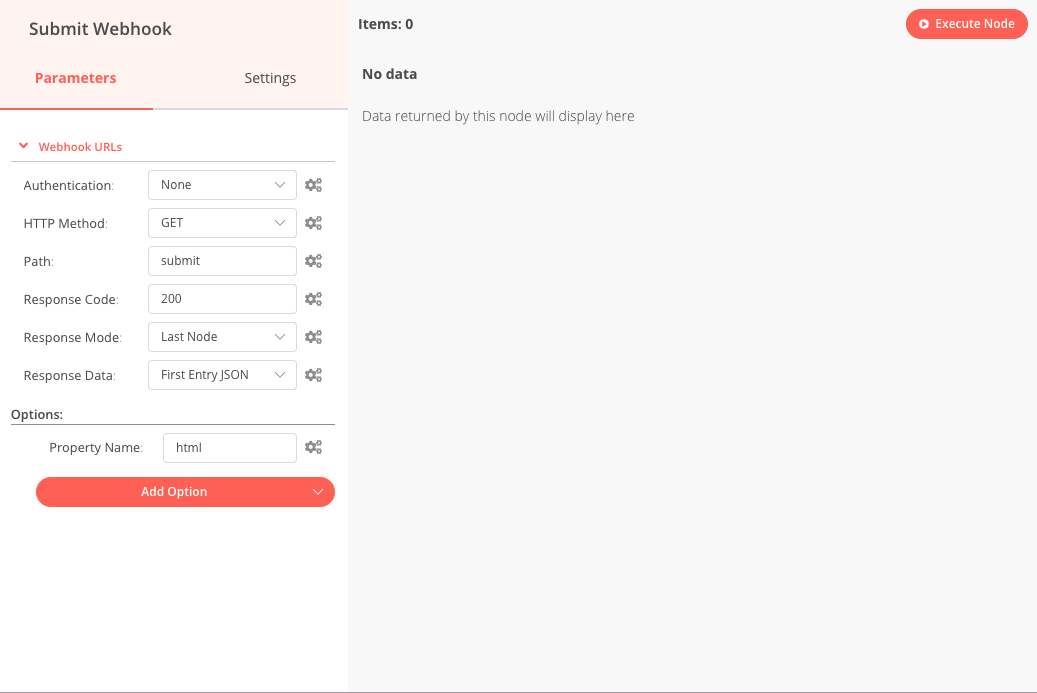
1. Webhook node#
This node is triggered when a new user submits their details in your contact form. It is configured as displayed below:
2. Set node#
This node is used to set the values submitted by the user (first name, last name, and email address) as values corresponding to what you want to enter in the Airtable.
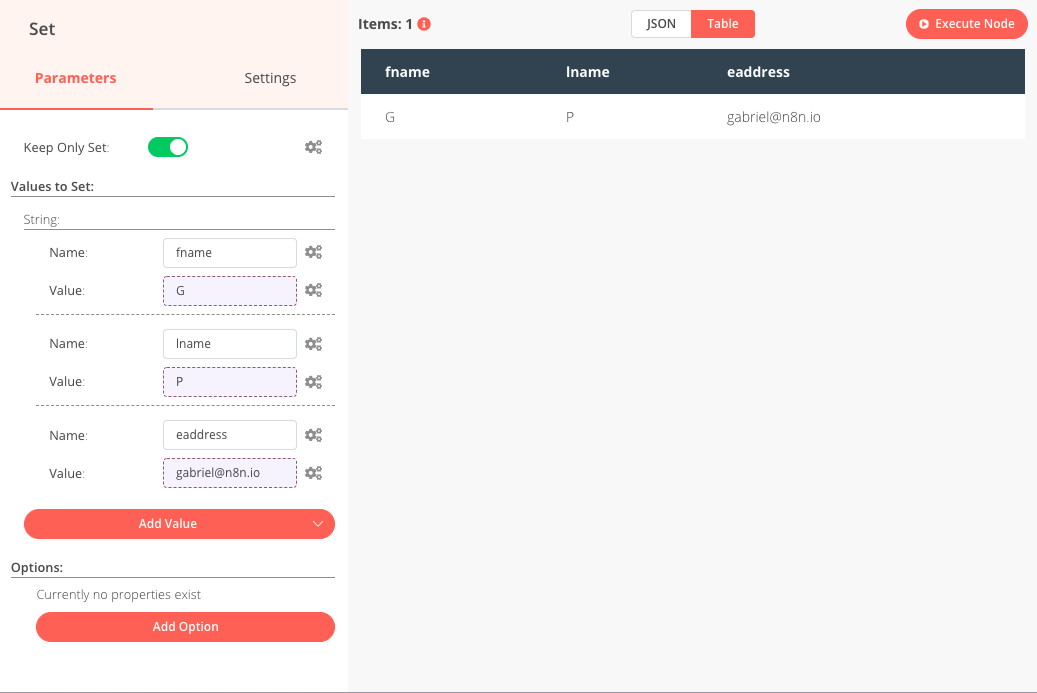
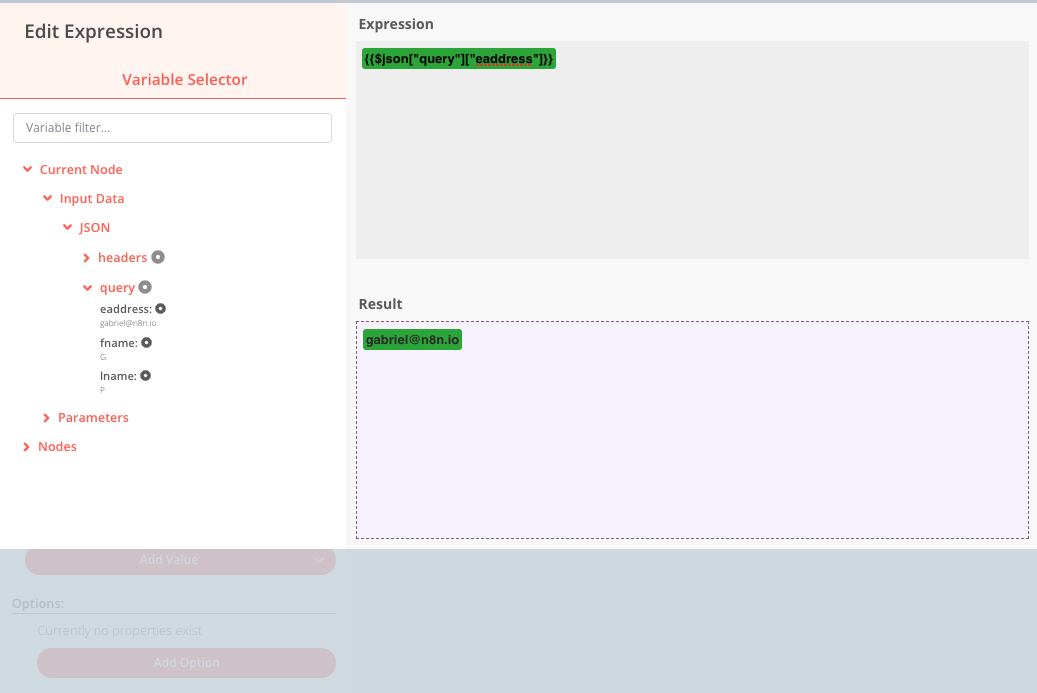
Note that expressions are used based on the input data received from the previous Webhook node:
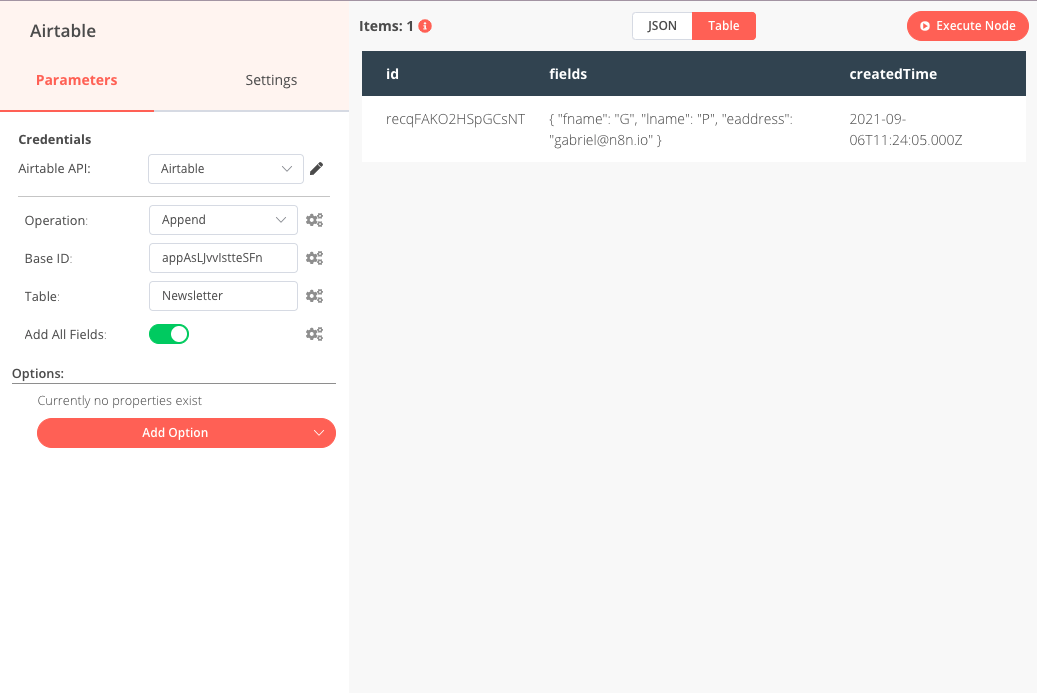
3. Airtable node#
In this node we add the new users contact details to the desired table, Newsletter in our example:
4. Send Email node#
This node uses your desired email address (via SMTP) to send a confirmation email to the user:
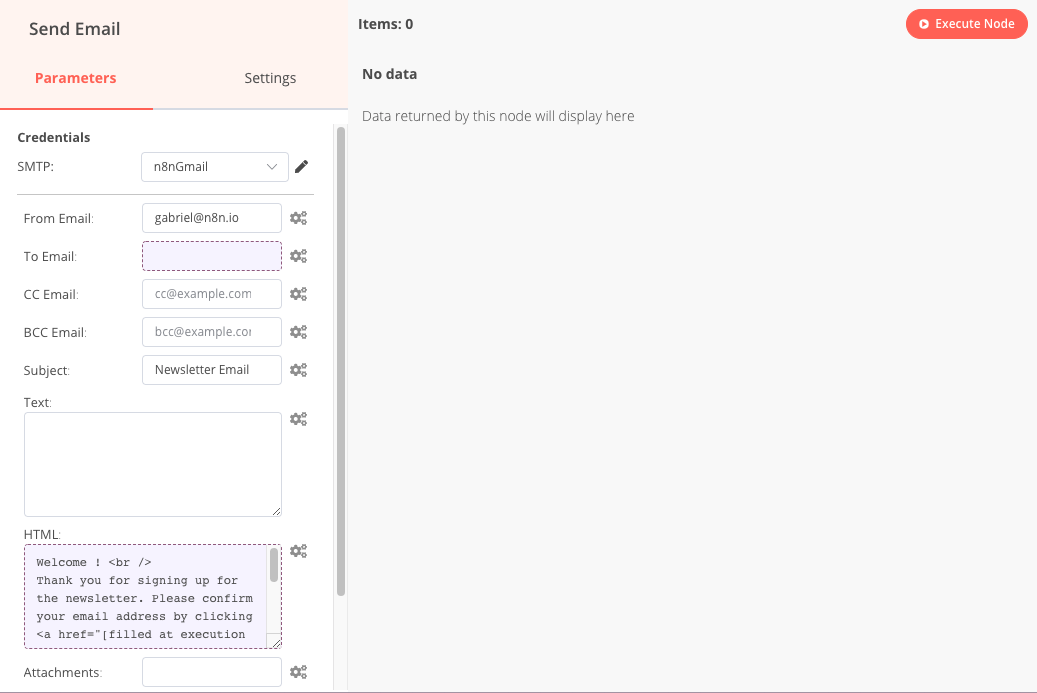
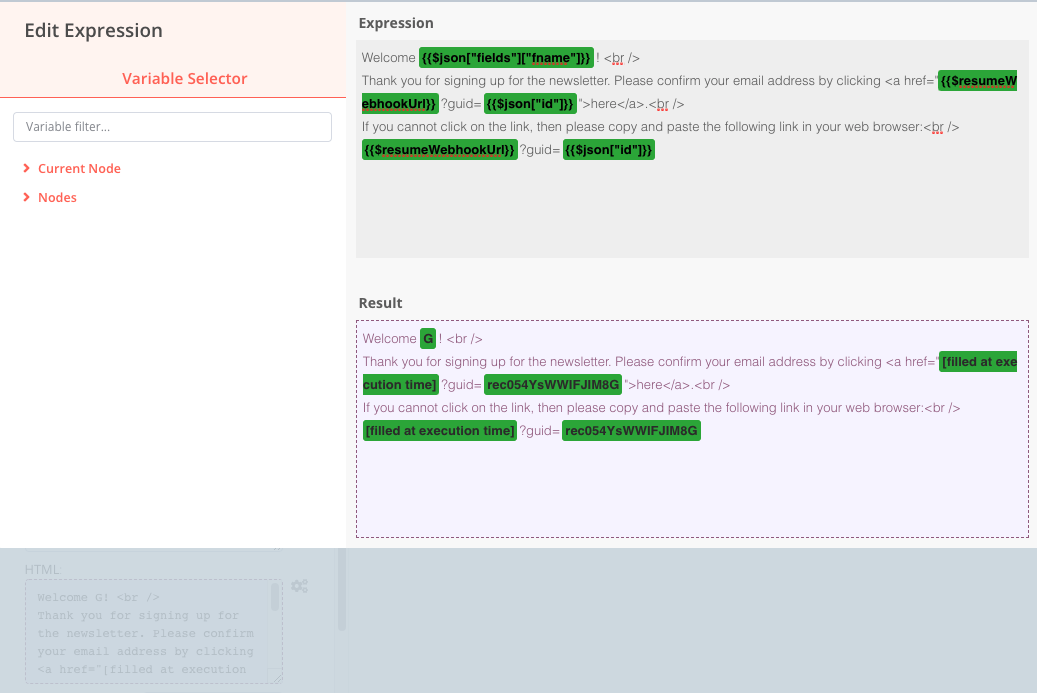
This is where the $resumeWebhookUrl is passed, meaning the workflow will wait until the user clicks the confirmation link in this email before resuming execution:
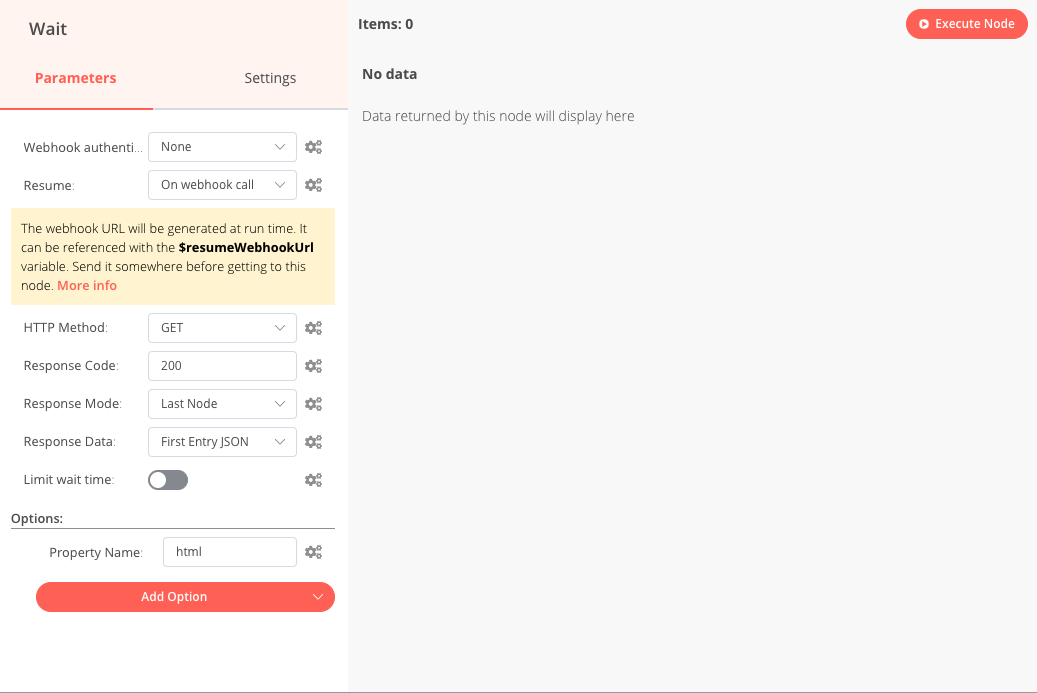
5. Wait node#
The Wait node will resume execution once the new user clicks the confirmation link in their email (containing the $resumeWebhookUrl):
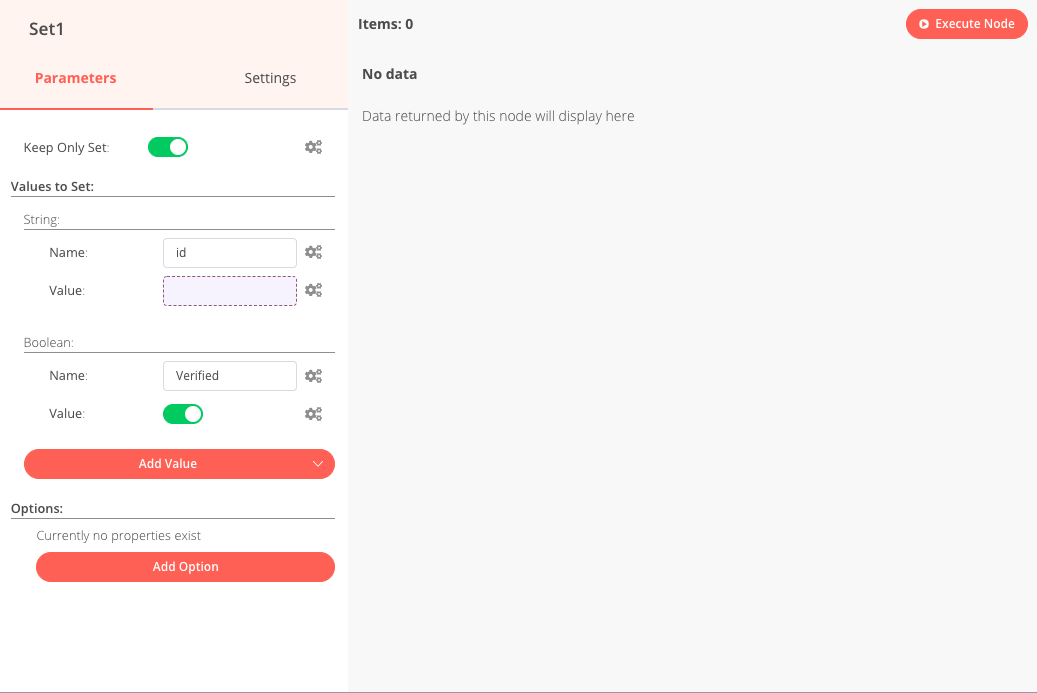
6. Set node#
In this node set the id of the user and new Verified boolean value to true:
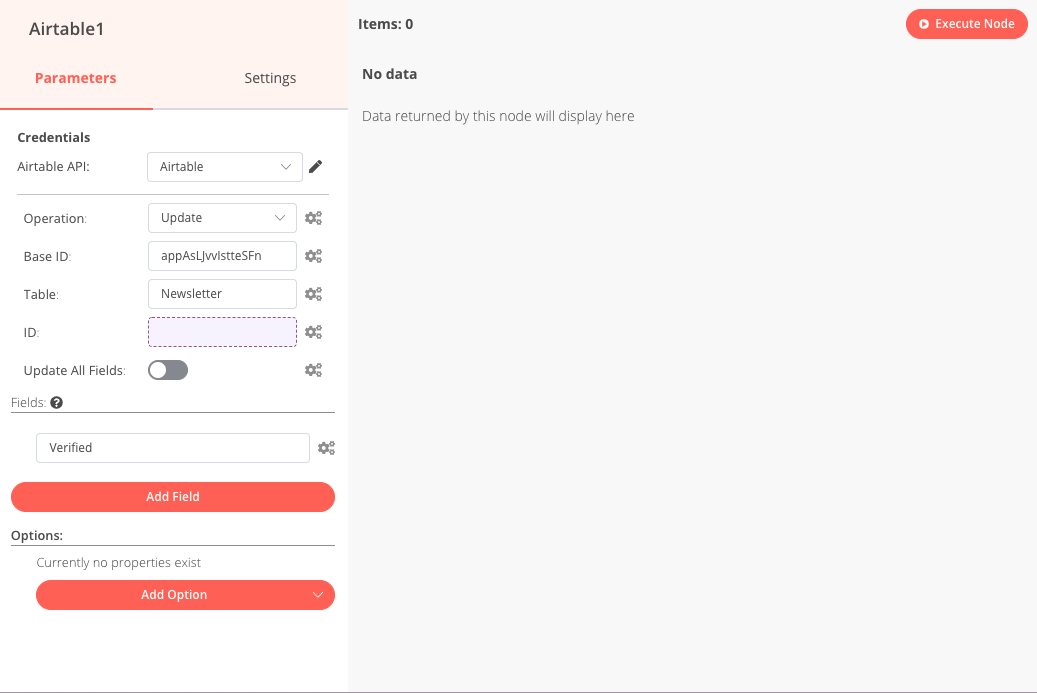
7. Airtable node#
Finally you update the table to reflect this newly created Verified field: