Notion#
Notion is an all-in-one workspace for your notes, tasks, wikis, and databases.
Credentials
You can find authentication information for this node here.
Basic Operations#
Block - Append a block - Get all children block
Database - Get a database - Get all database - Query a database
Database Record - Create a record in a database - Update a record in a database
Page - Create a page - Get a page - Text search for pages
User - Get a user - Get all users
Example Usage#
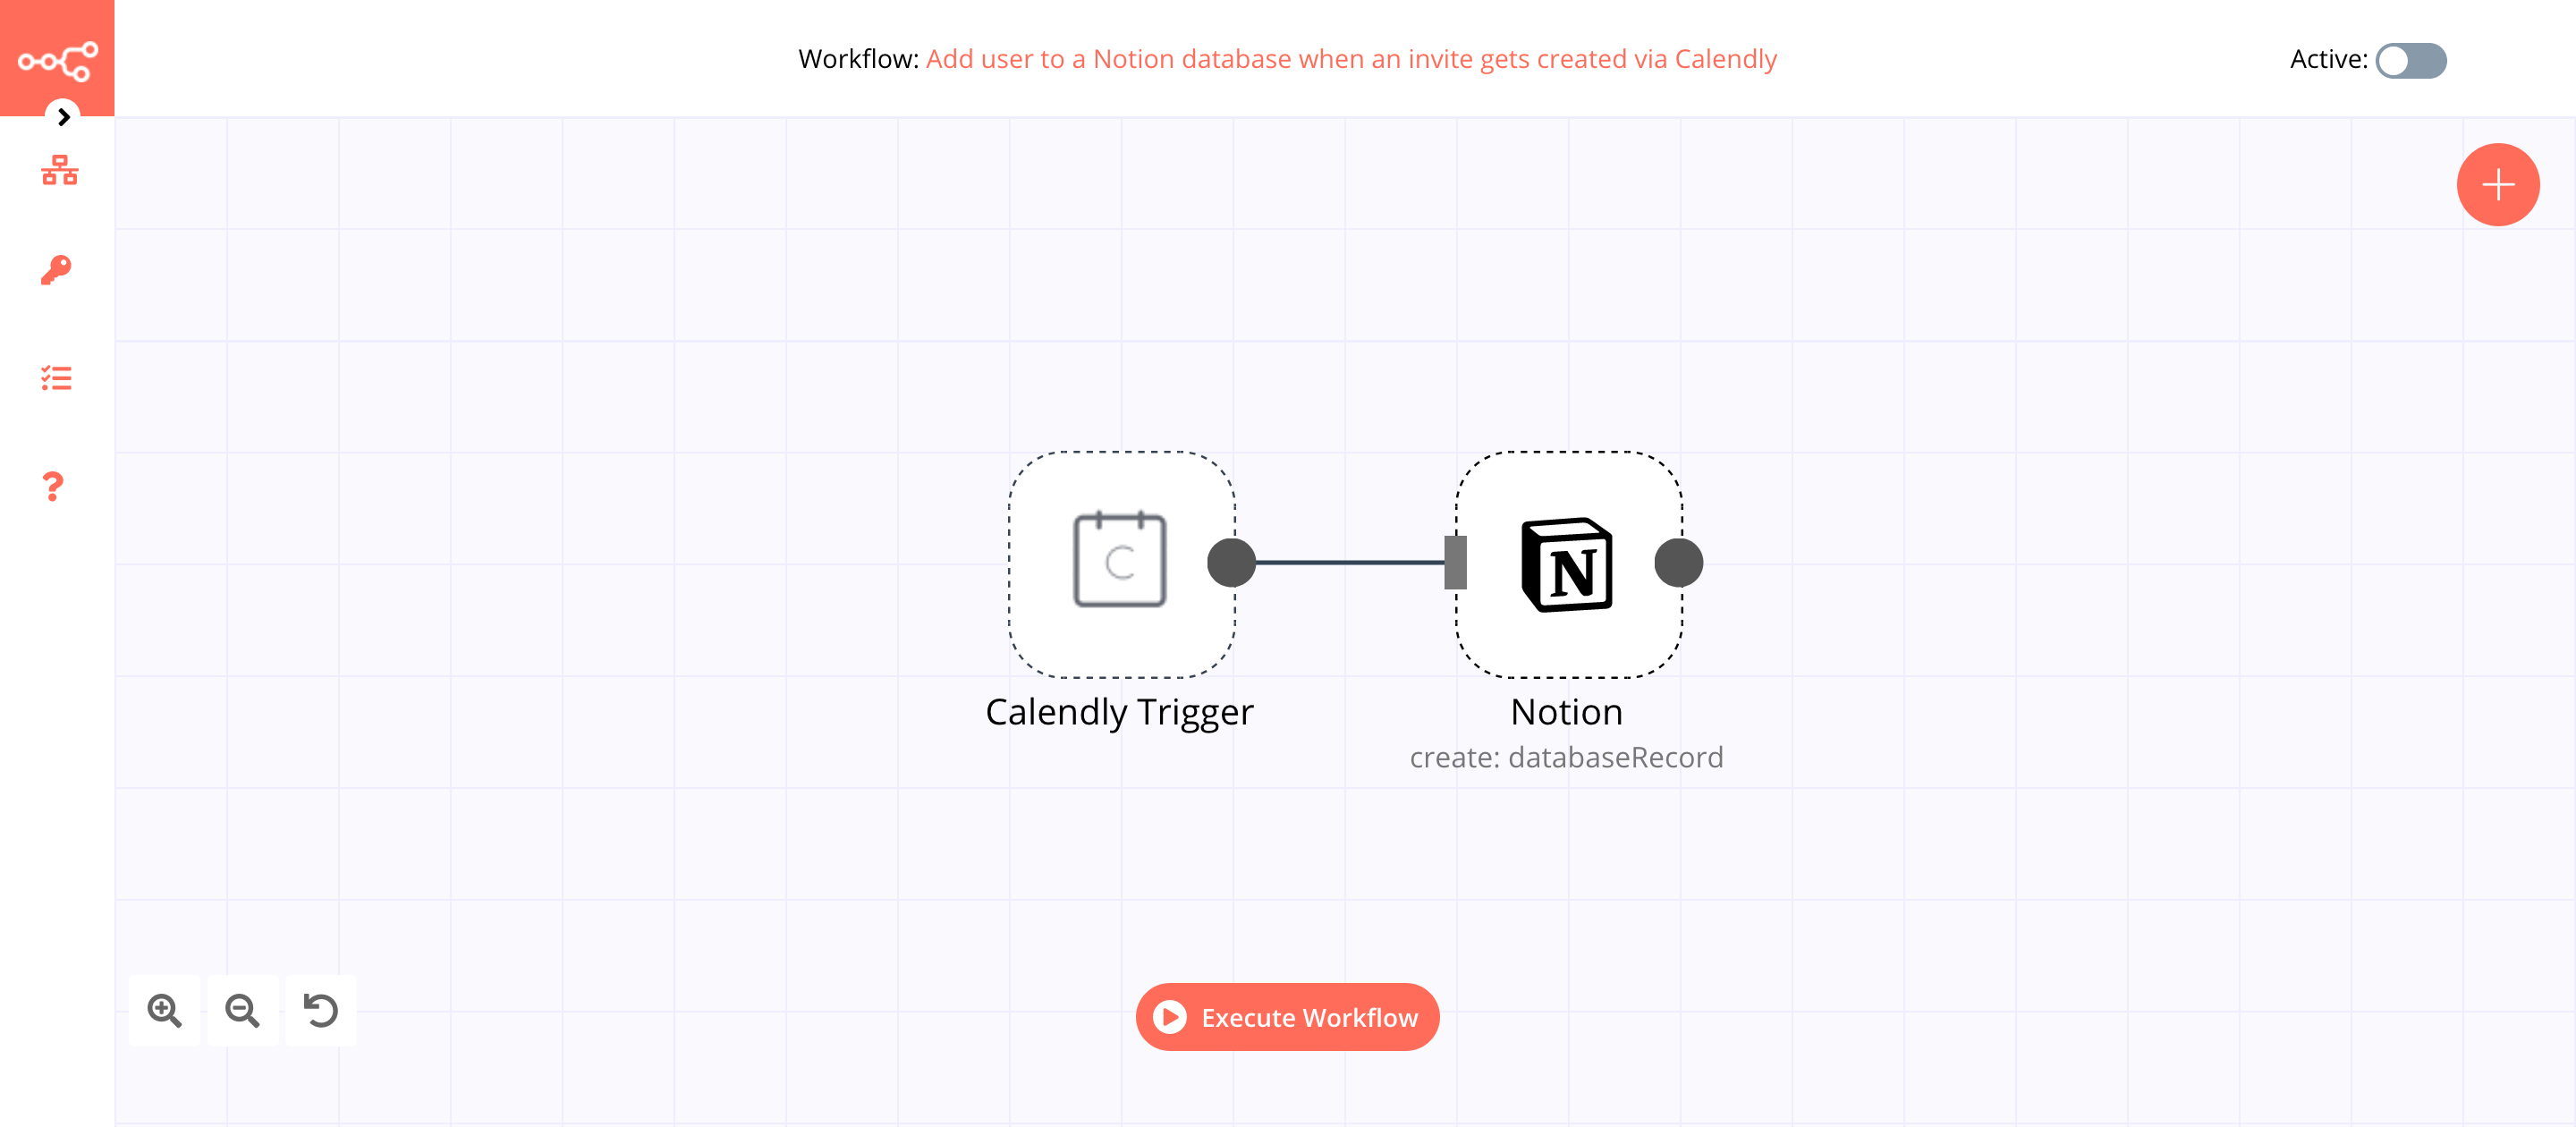
This workflow allows you to add a new user to your Notion database when an invite gets created via Calendly. You can also find the workflow on n8n.io. This example usage workflow uses the following nodes.
The final workflow should look like the following image.
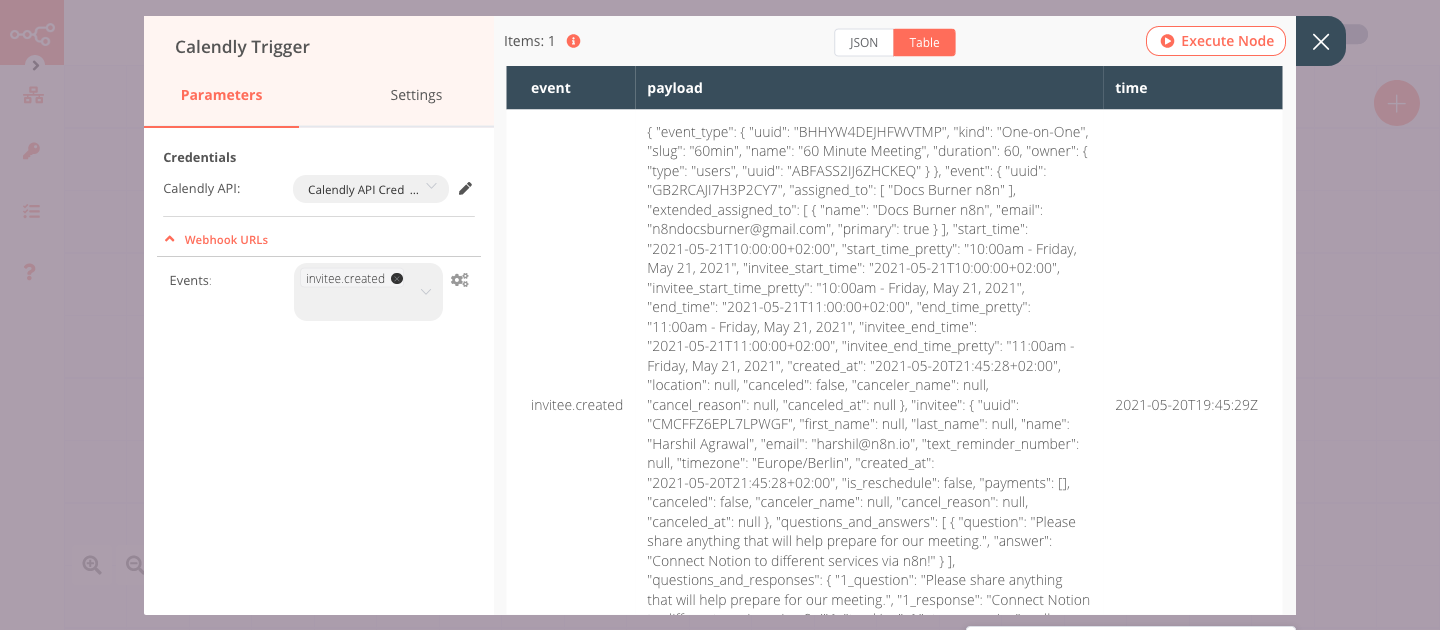
1. Calendly Trigger node#
The Calendly node will trigger the workflow when an invite gets created.
- First of all, you'll have to enter credentials for the Notion node. You can find out how to do that here.
- Select 'invitee.created' from the Events dropdown list.
- Save your workflow so that the webhook gets registered.
- Click on Execute Node to run the node.
Note: Since you'll be using the test webhook while building the workflow, the node only stays active for 120 seconds. After you click on the Execute Node button, create an invite via Calendly.
In the screenshot below, you will notice that the Calendly Trigger node triggers the workflow when an invite is created.
2. Notion node (create: databaseRecord)#
This node will create a new record using the information received from the previous node.
-
First of all, you'll have to enter credentials for the Notion node. You can find out how to do that here.
-
Select 'Database Record' from the Resource dropdown list.
- Select the database from the Database ID dropdown list.
- Click on the Add Property button.
- Select 'Name' from the Key dropdown list.
- Click on the gears icon next to the Title field and click on Add Expression.
- Select the following in the Variable Selector section: Current Node > Input Data > JSON > payload > invitee > name. You can also add the following expression:
{{$json["payload"]["invitee"]["name"]}}. - Click on the Add Property button.
- Select 'Email' from the Key dropdown list.
- Click on the gears icon next to the Email field and click on Add Expression.
- Select the following in the Variable Selector section: Current Node > Input Data > JSON > payload > invitee > email. You can also add the following expression:
{{$json["payload"]["invitee"]["email"]}}. - Click on the Add Property button.
- Select 'Status' from the Key dropdown list.
- Select 'Scheduled' from the Option dropdown list.
- Click on Execute Node to run the node.
In the screenshot below, you will notice that the node creates a new record from the information that gets received from the previous node.

Activate workflow for production
You'll need to save the workflow and then click on the Activate toggle on the top right of the screen to activate the workflow. Your workflow will then be triggered as specified by the settings in the Calendly Trigger node.