iCalendar#
The iCalendar node allows you to create event files that can be shared as an attachment.
Basic Operations#
- Create Event File
Example Usage#
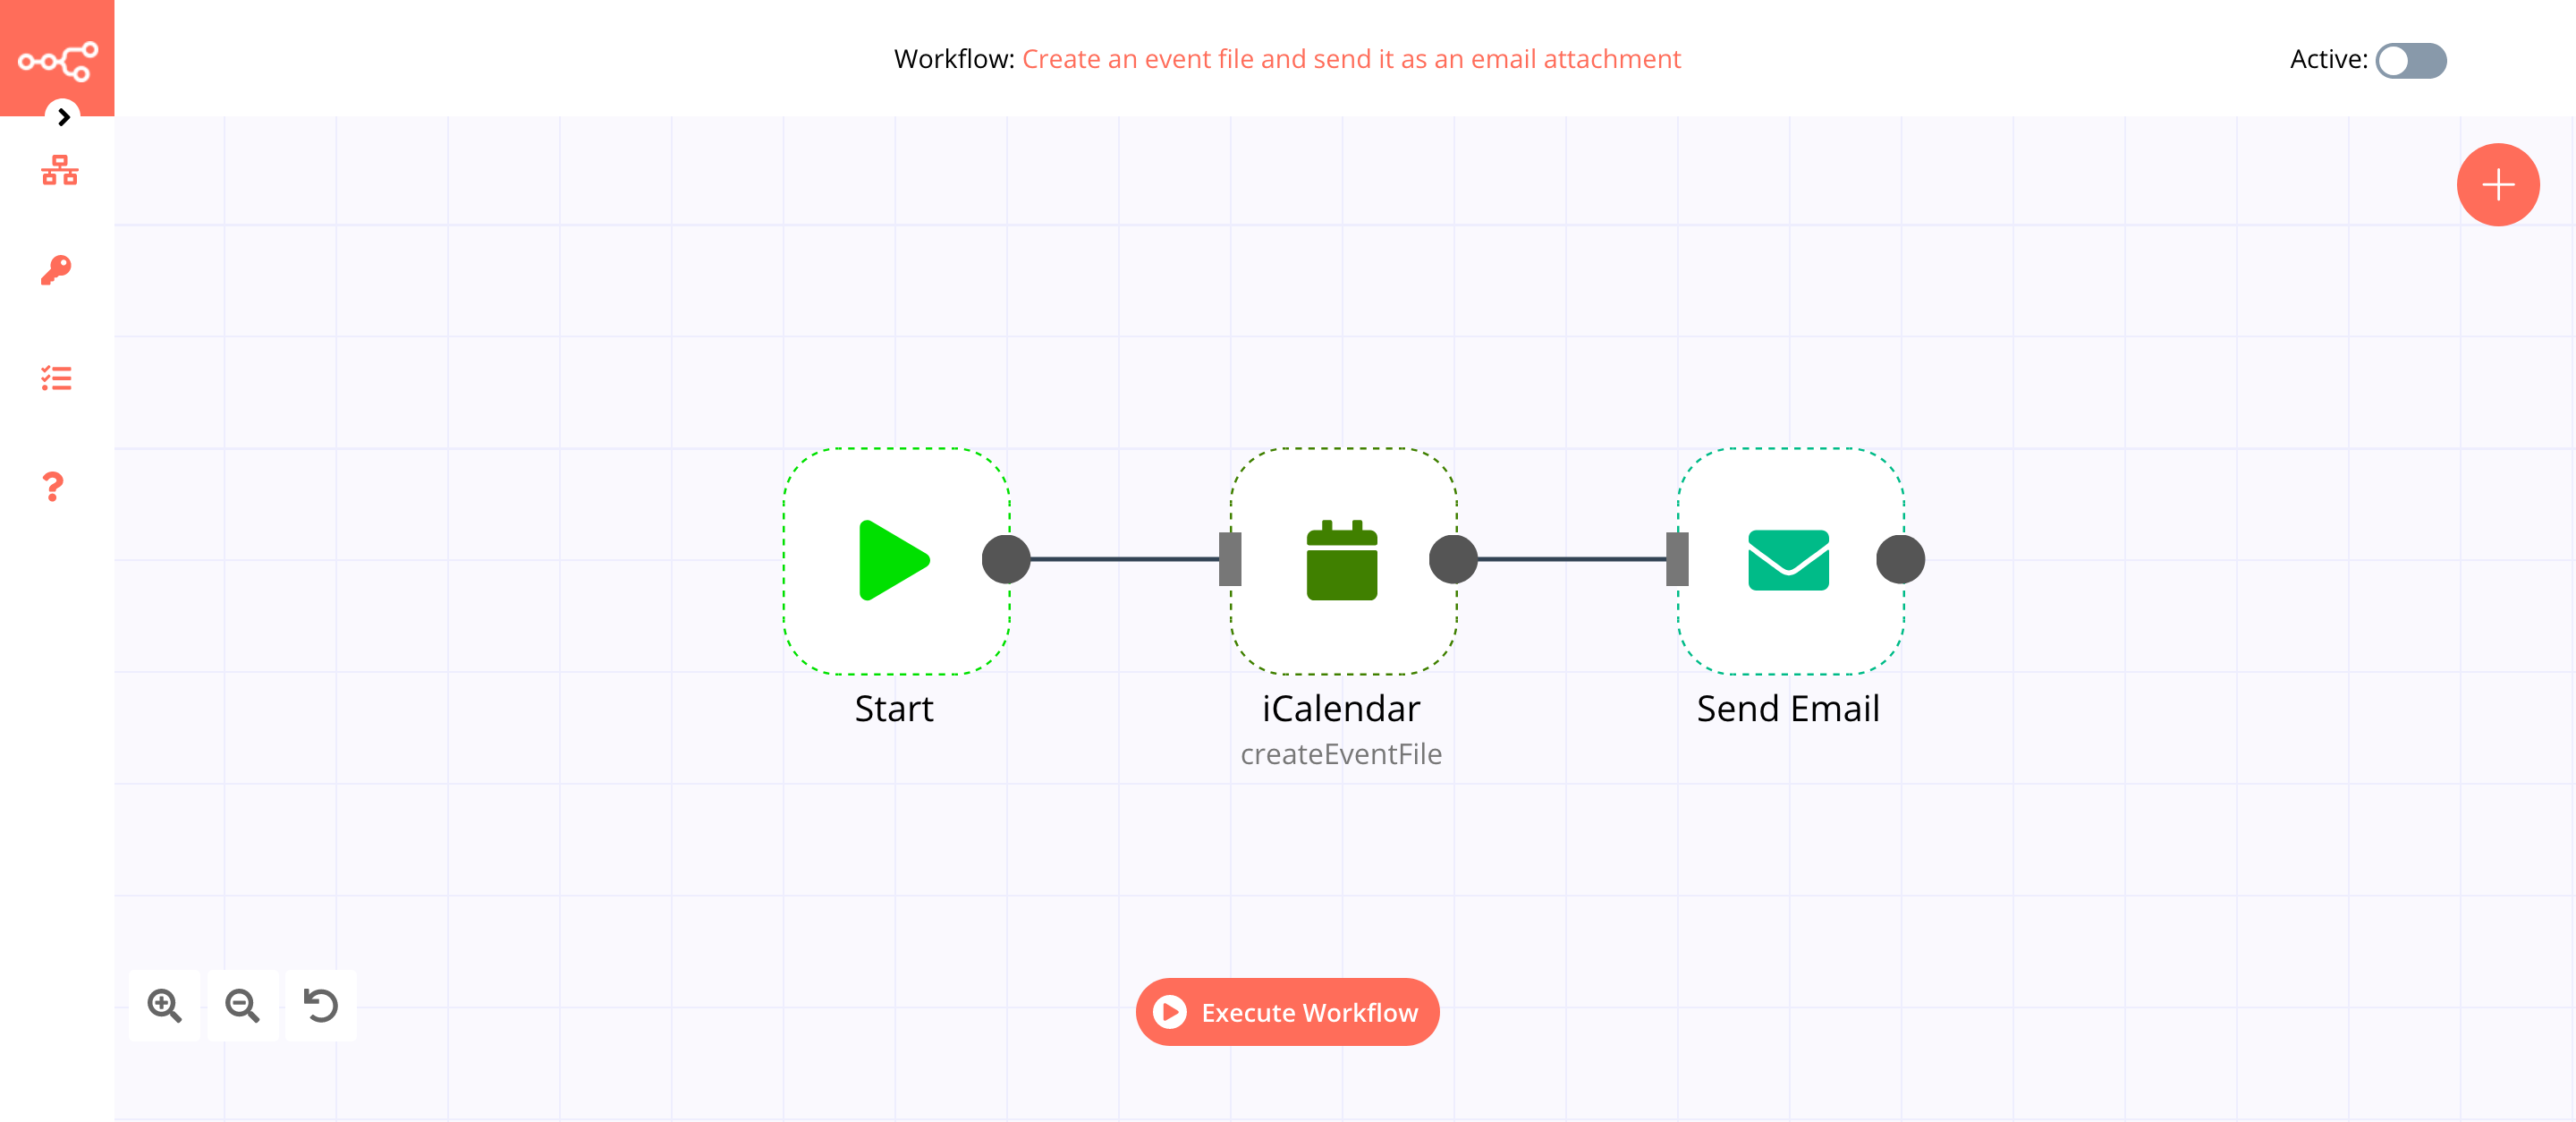
This workflow allows you to create an event file and send it as an attachment via email. You can also find the workflow on n8n.io. This example usage workflow would use the following nodes. - Start - Send Email
The final workflow should look like the following image.
1. Start node#
The start node exists by default when you create a new workflow.
2. iCalendar node (createEventFile)#
This node will create an event file. We use this file as an attachment in the next node.
- Enter the event title in the Event Title field.
- Select the event start date and time in the Start field.
- Select the event end date and time in the End field.
- Select 'Get All' from the Operation dropdown list.
- Click on Execute Node to run the node.
In the screenshot below, you will notice that the node creates the event file.

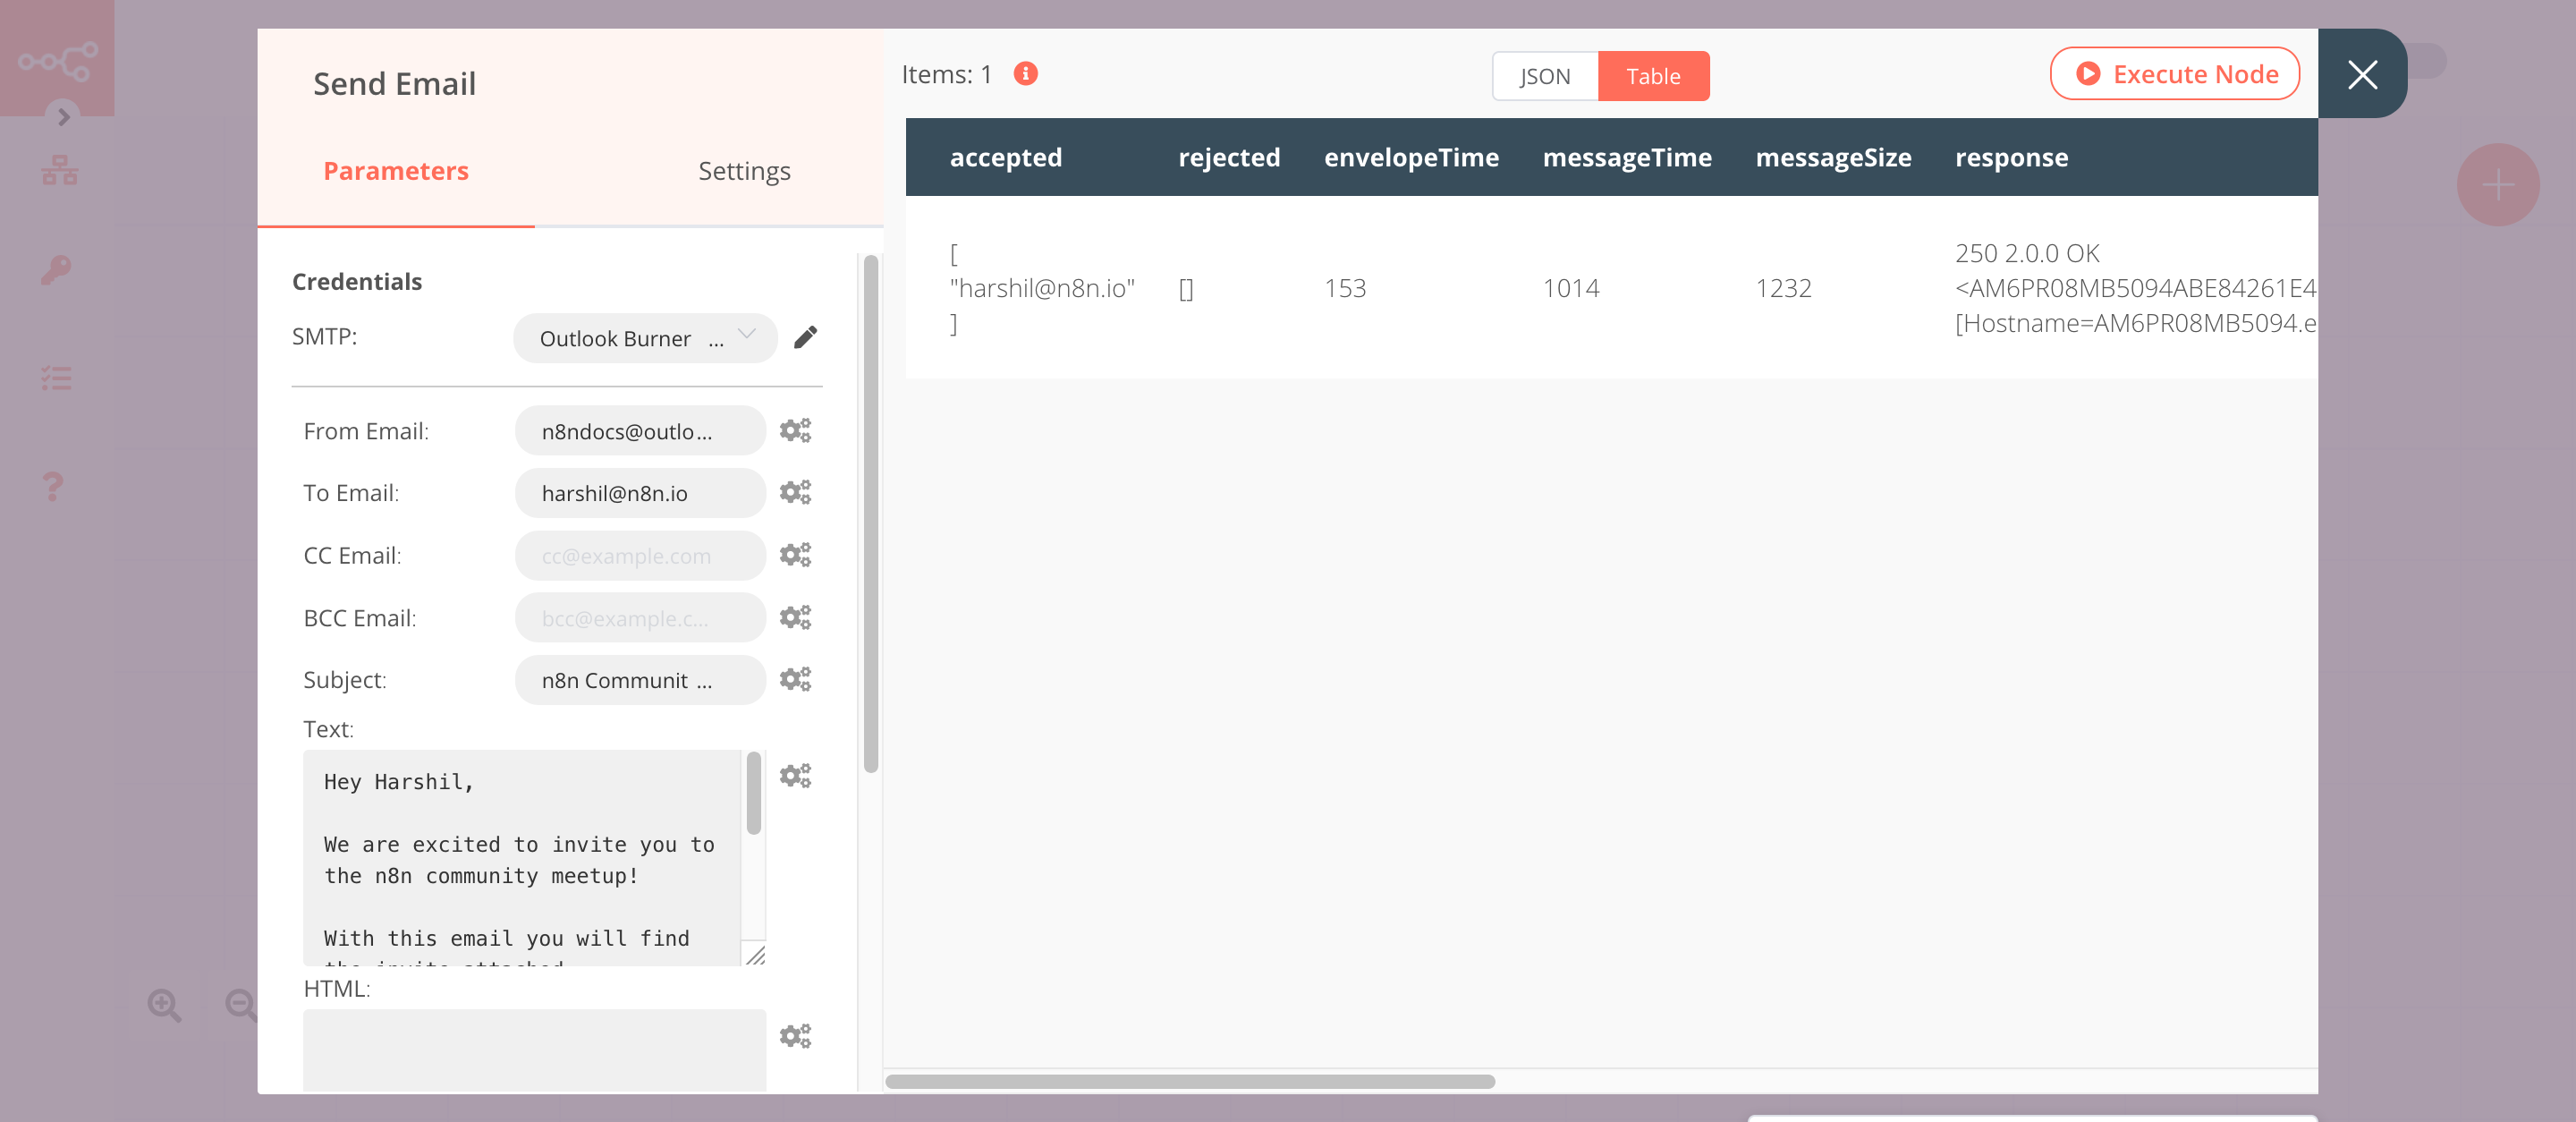
3. Send Email node#
This node will send the event file as an attachment.
- First of all, you'll have to enter credentials for the Send Email node. You can find out how to do that here.
- Enter the sender's email address in the From Email field.
- Enter the receiver's email address in the To Email field.
- Enter a subject in the Subject field.
- Enter the email content in the Text field.
- Enter
datain the Attachments field. If you used a different name for the Binary Property, use that name instead. We add the name of the Binary Property and not the file name in the Attachments field. - Click on Execute Node to run the node.
In the screenshot below, you will notice that the node sends an email with the event file as an attachment.