Set#
The Set node allows you to set workflow data. This node can set completely new data as well as overwrite data that already exists. This node is crucial in workflows which expect incoming data from previous nodes, such as when inserting values to Google Sheets or databases.
Example Usage#
This workflow allows you to assign values to variables using the Set node. You can also find the workflow on the website. This example usage workflow would use the following two nodes. - Start - Set
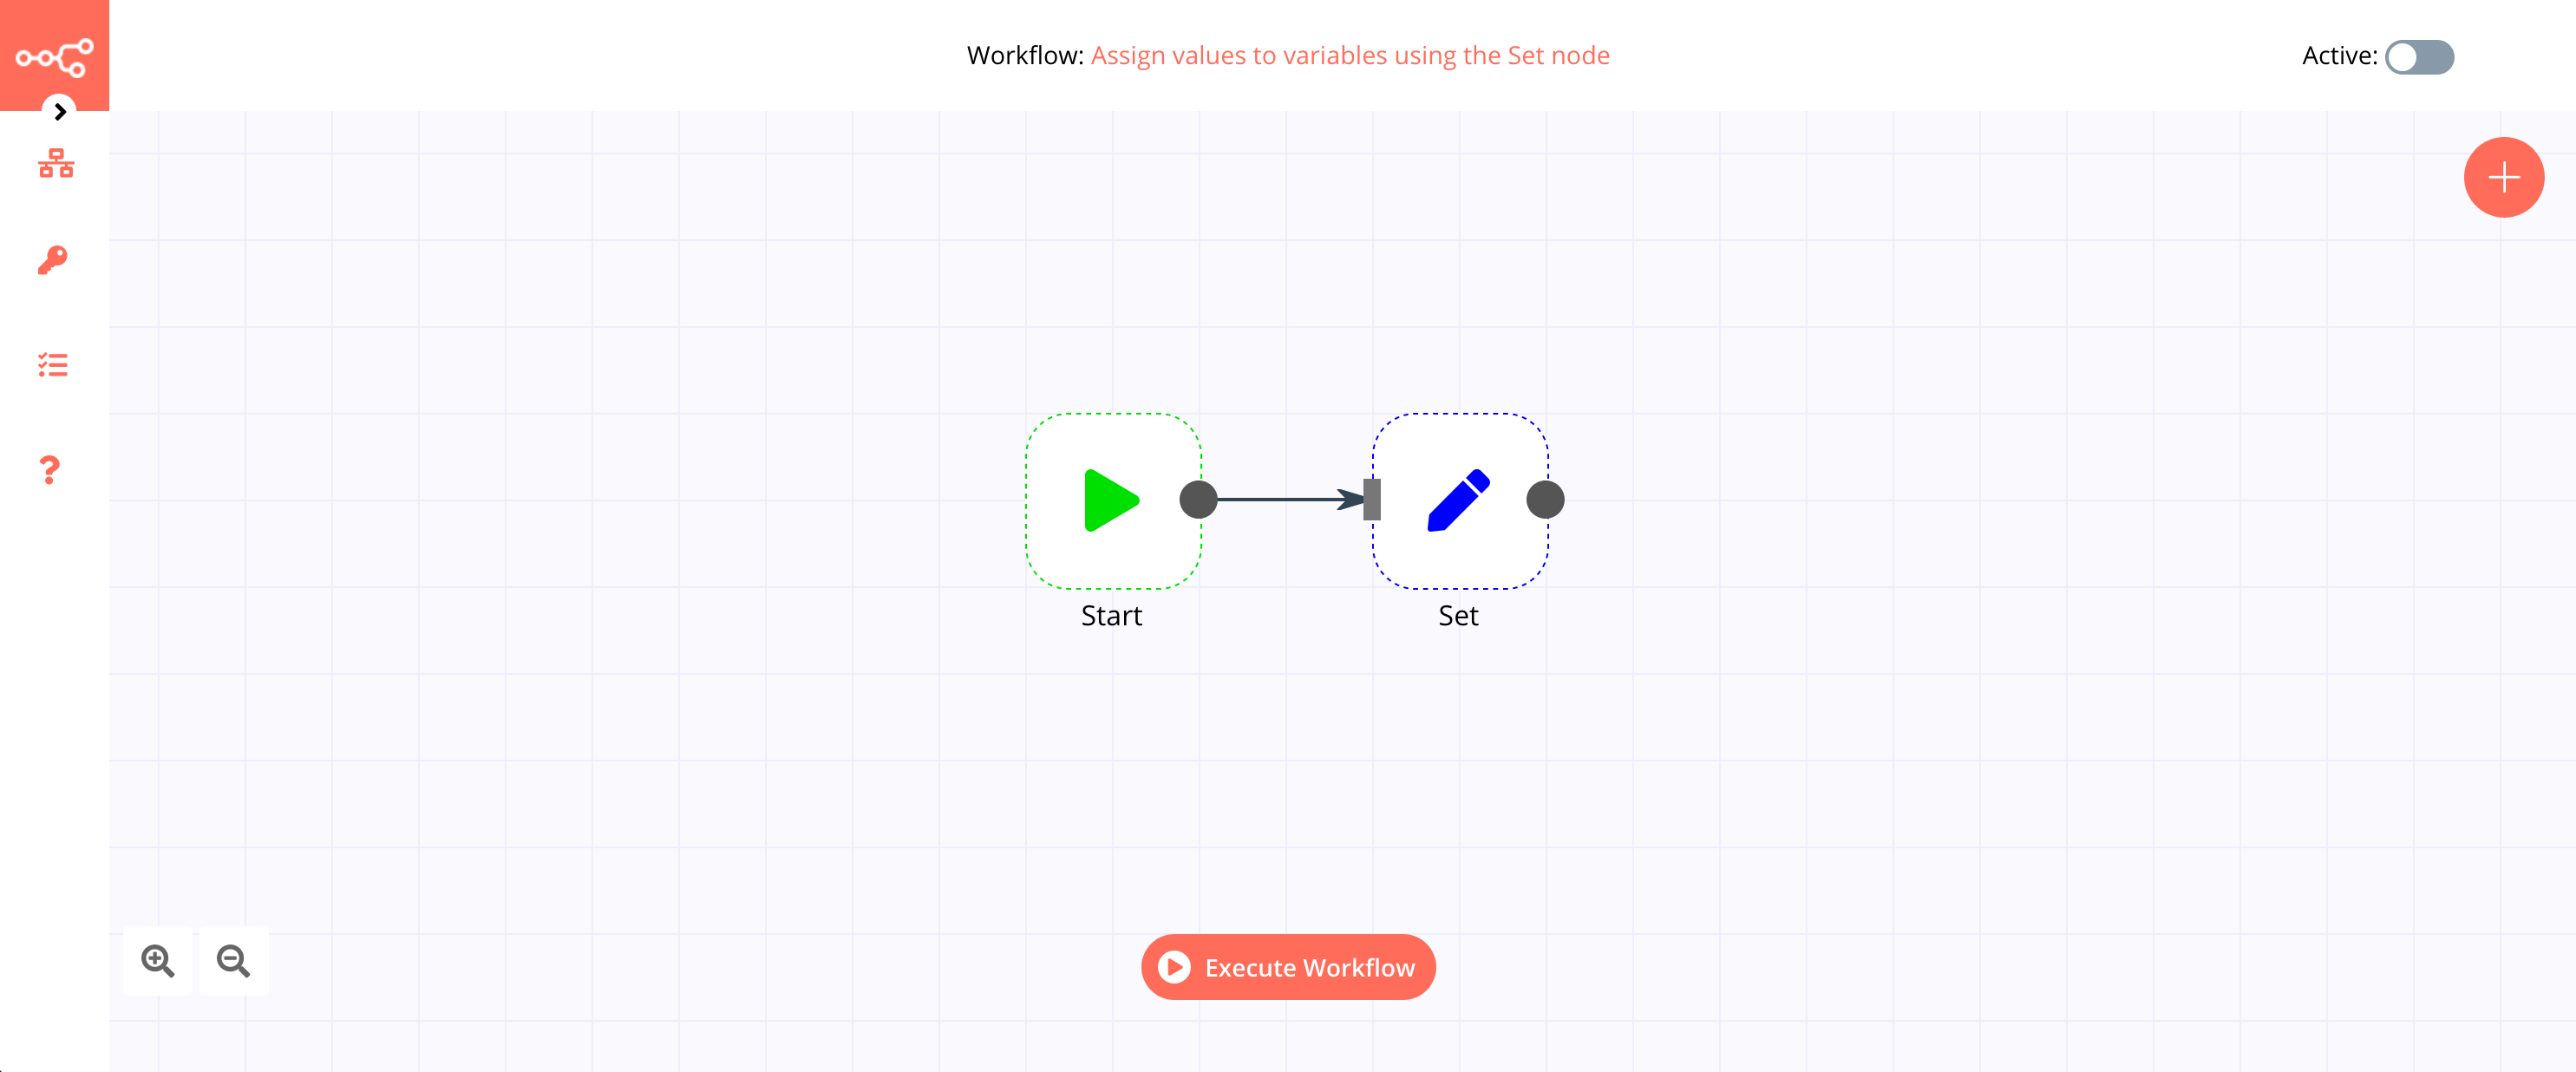
The final workflow should look like the following image.
1. Start node#
The start node exists by default when you create a new workflow.
2. Set node#
- Click on the Add Value button and select 'Number' from the dropdown list.
- Enter
numberin the Name field. - Enter the value for the above field in the Value field.
- Click on the Add Value button and select 'String' from the dropdown list.
- Enter
stringin the Name field. - Enter the value for the above field in the Value field.
- Click on the Add Value button and select 'Boolean' from the dropdown list.
- Enter
booleanin the Name field. - Toggle the value for the above field in the Value field.
- Click on Execute Node to run the workflow.
Node Reference#
Keep Only Set#
There's an option to toggle the Keep Only Set field. Setting this to true ensures that only the values set on this node should be kept, and the values from all the previous nodes are removed.
Dot Notation#
By default, the node follows the dot notation for the Name field. That means if you set the name in the Name field as number.one and the value in the Value field as 20, the resulting JSON would look like the following:
1 | |
You can deactivate this behaviour by clicking on the Add Option button and setting the Dot Notion field to off. Now the resulting JSON would look like the following:
1 | |